Turning my kanji design for Kowai into a riso print
I finally stopped procrastinating and took a risography workshop at Secret Riso Club in Brooklyn. I learned about the history of the process and got to print some of my own designs.
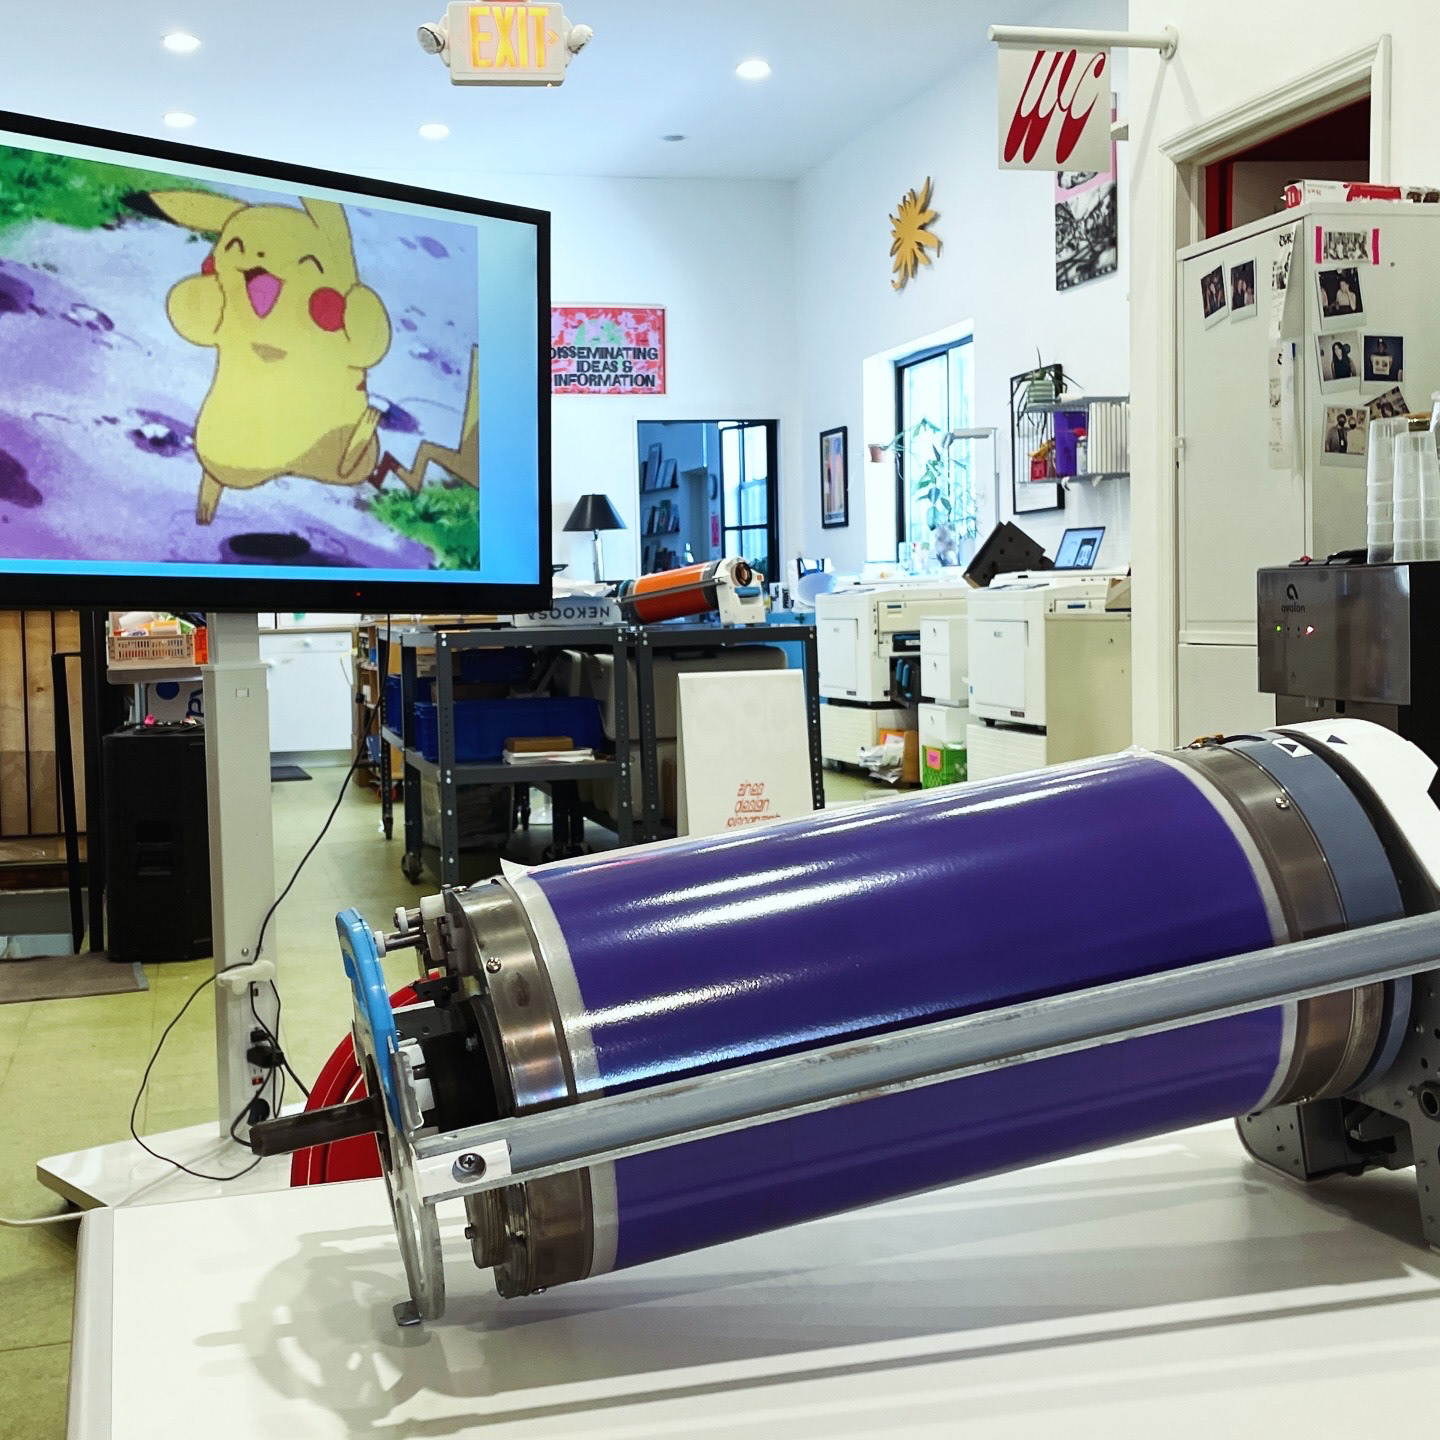
I had wanted to turn my kanji series into riso prints for ages, and
finally began by designing them in Adobe Illustrator.
finally began by designing them in Adobe Illustrator.
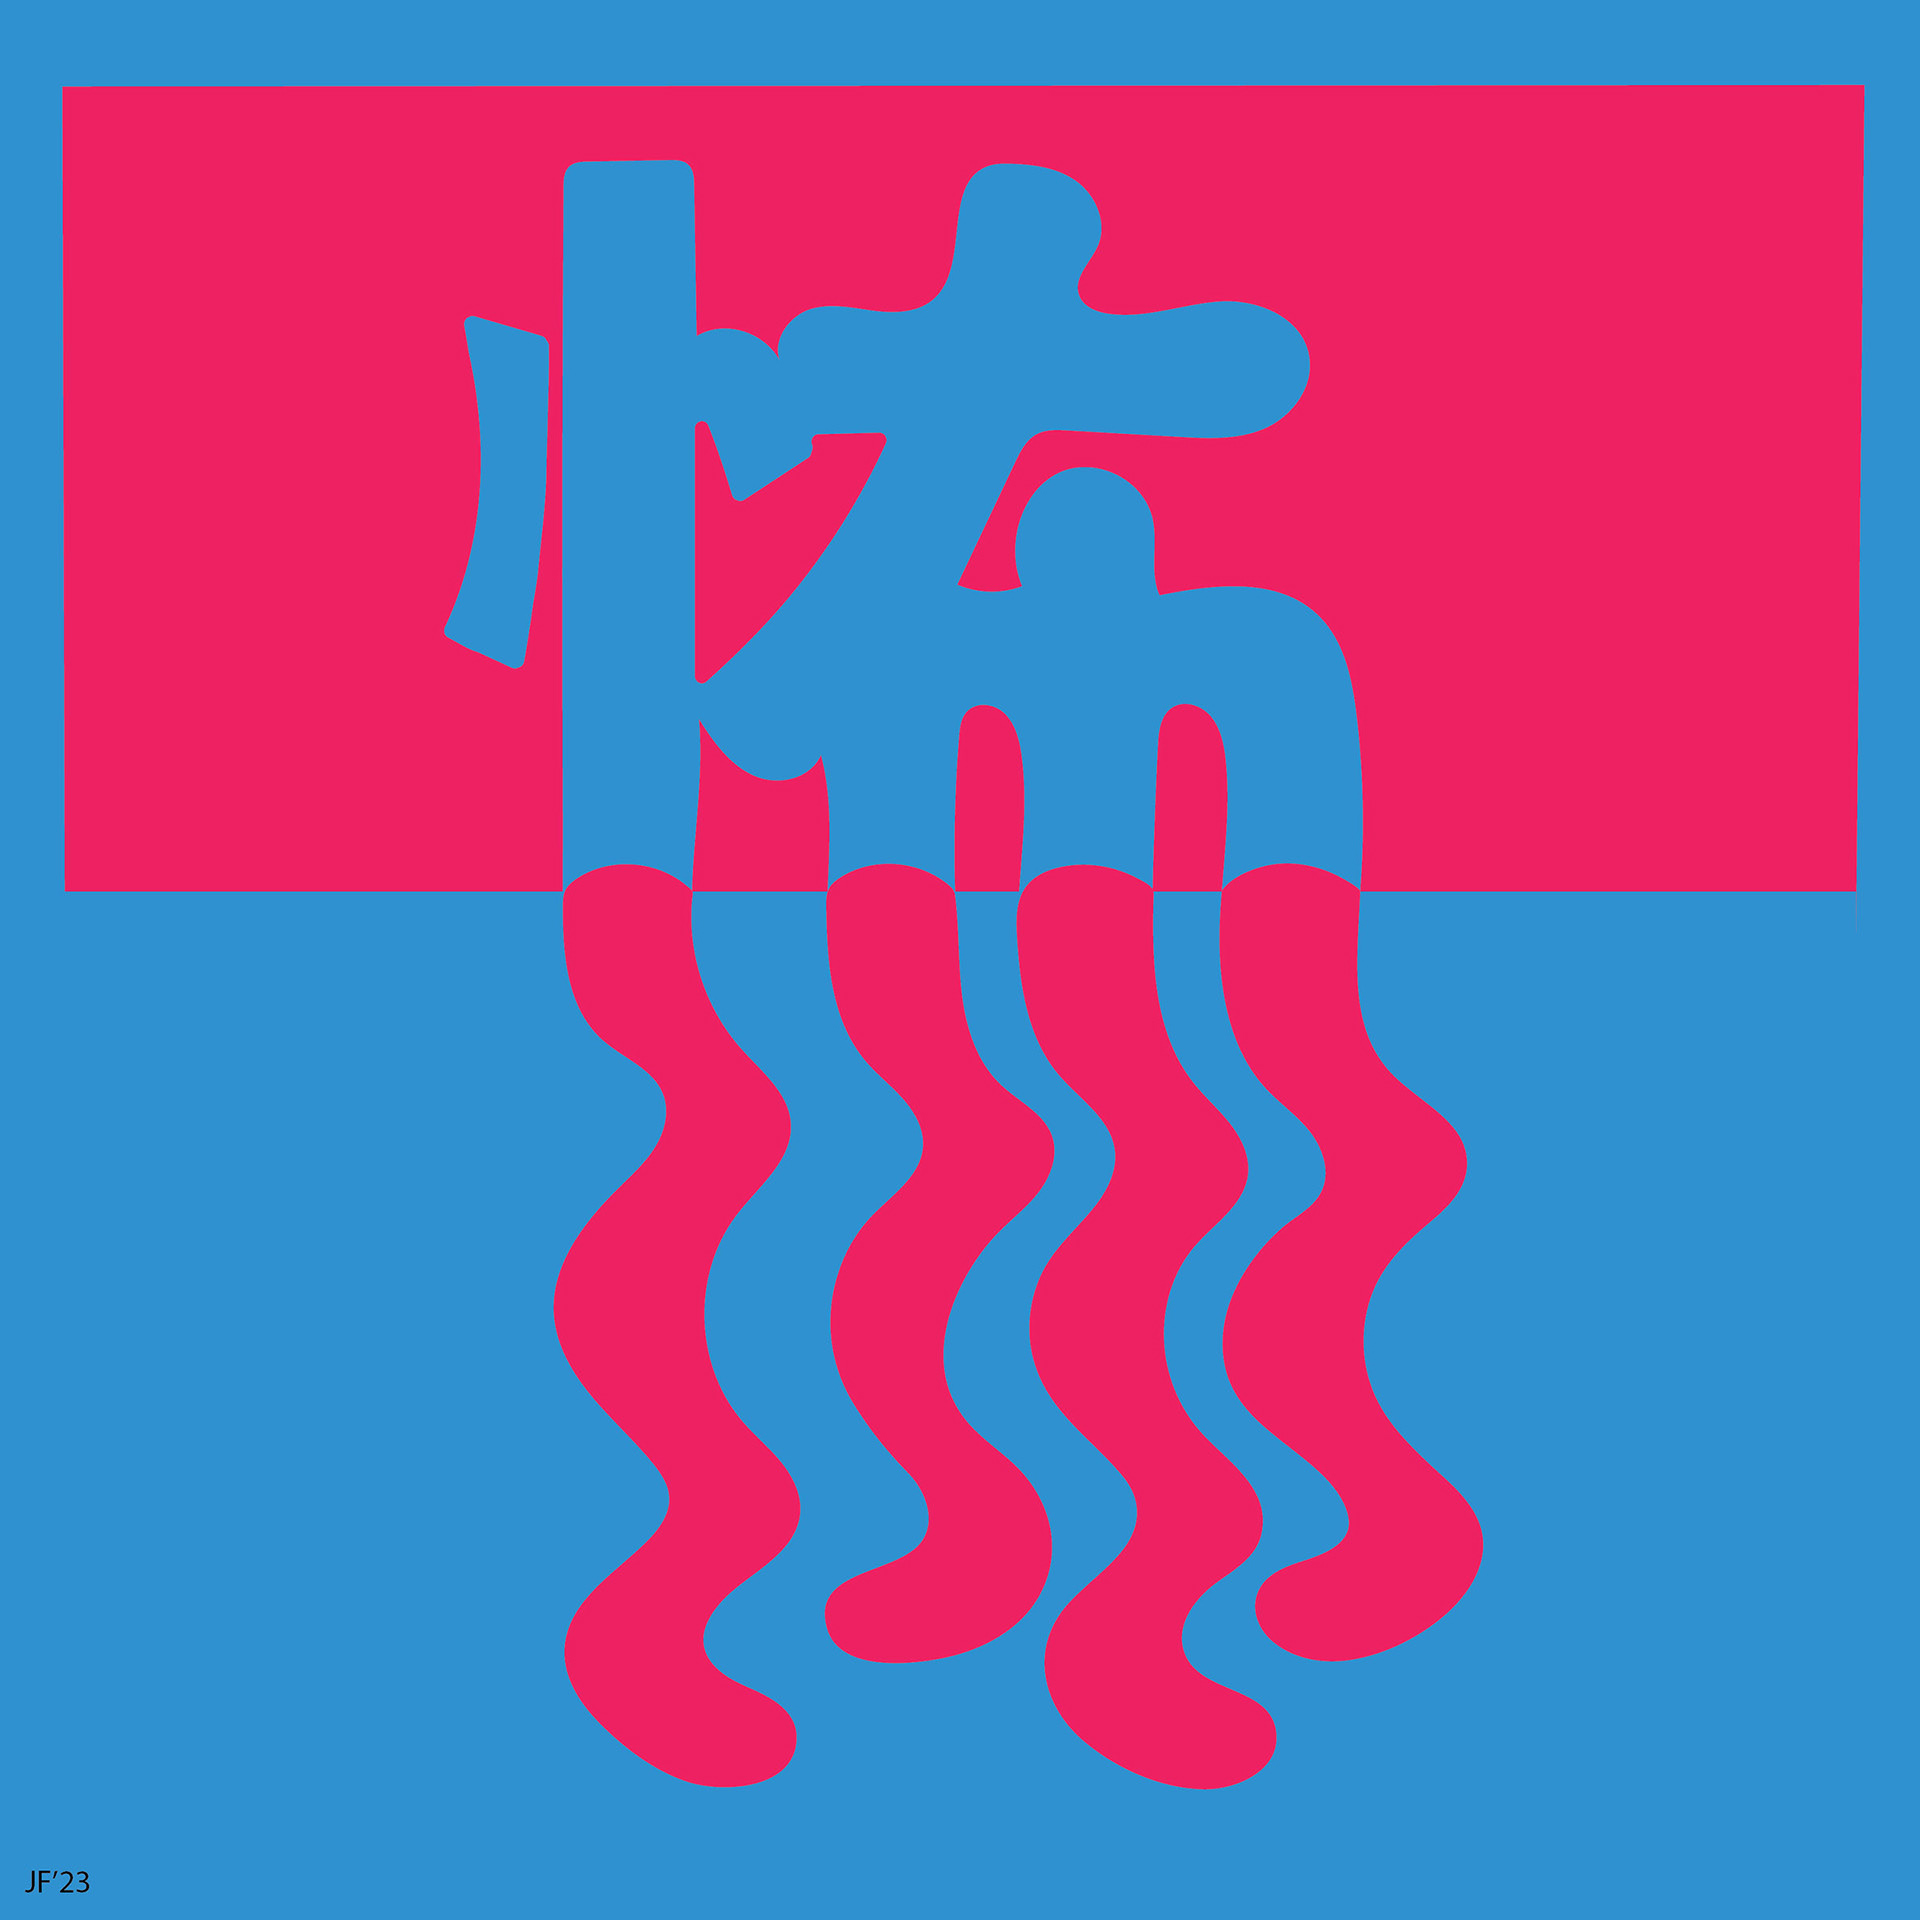
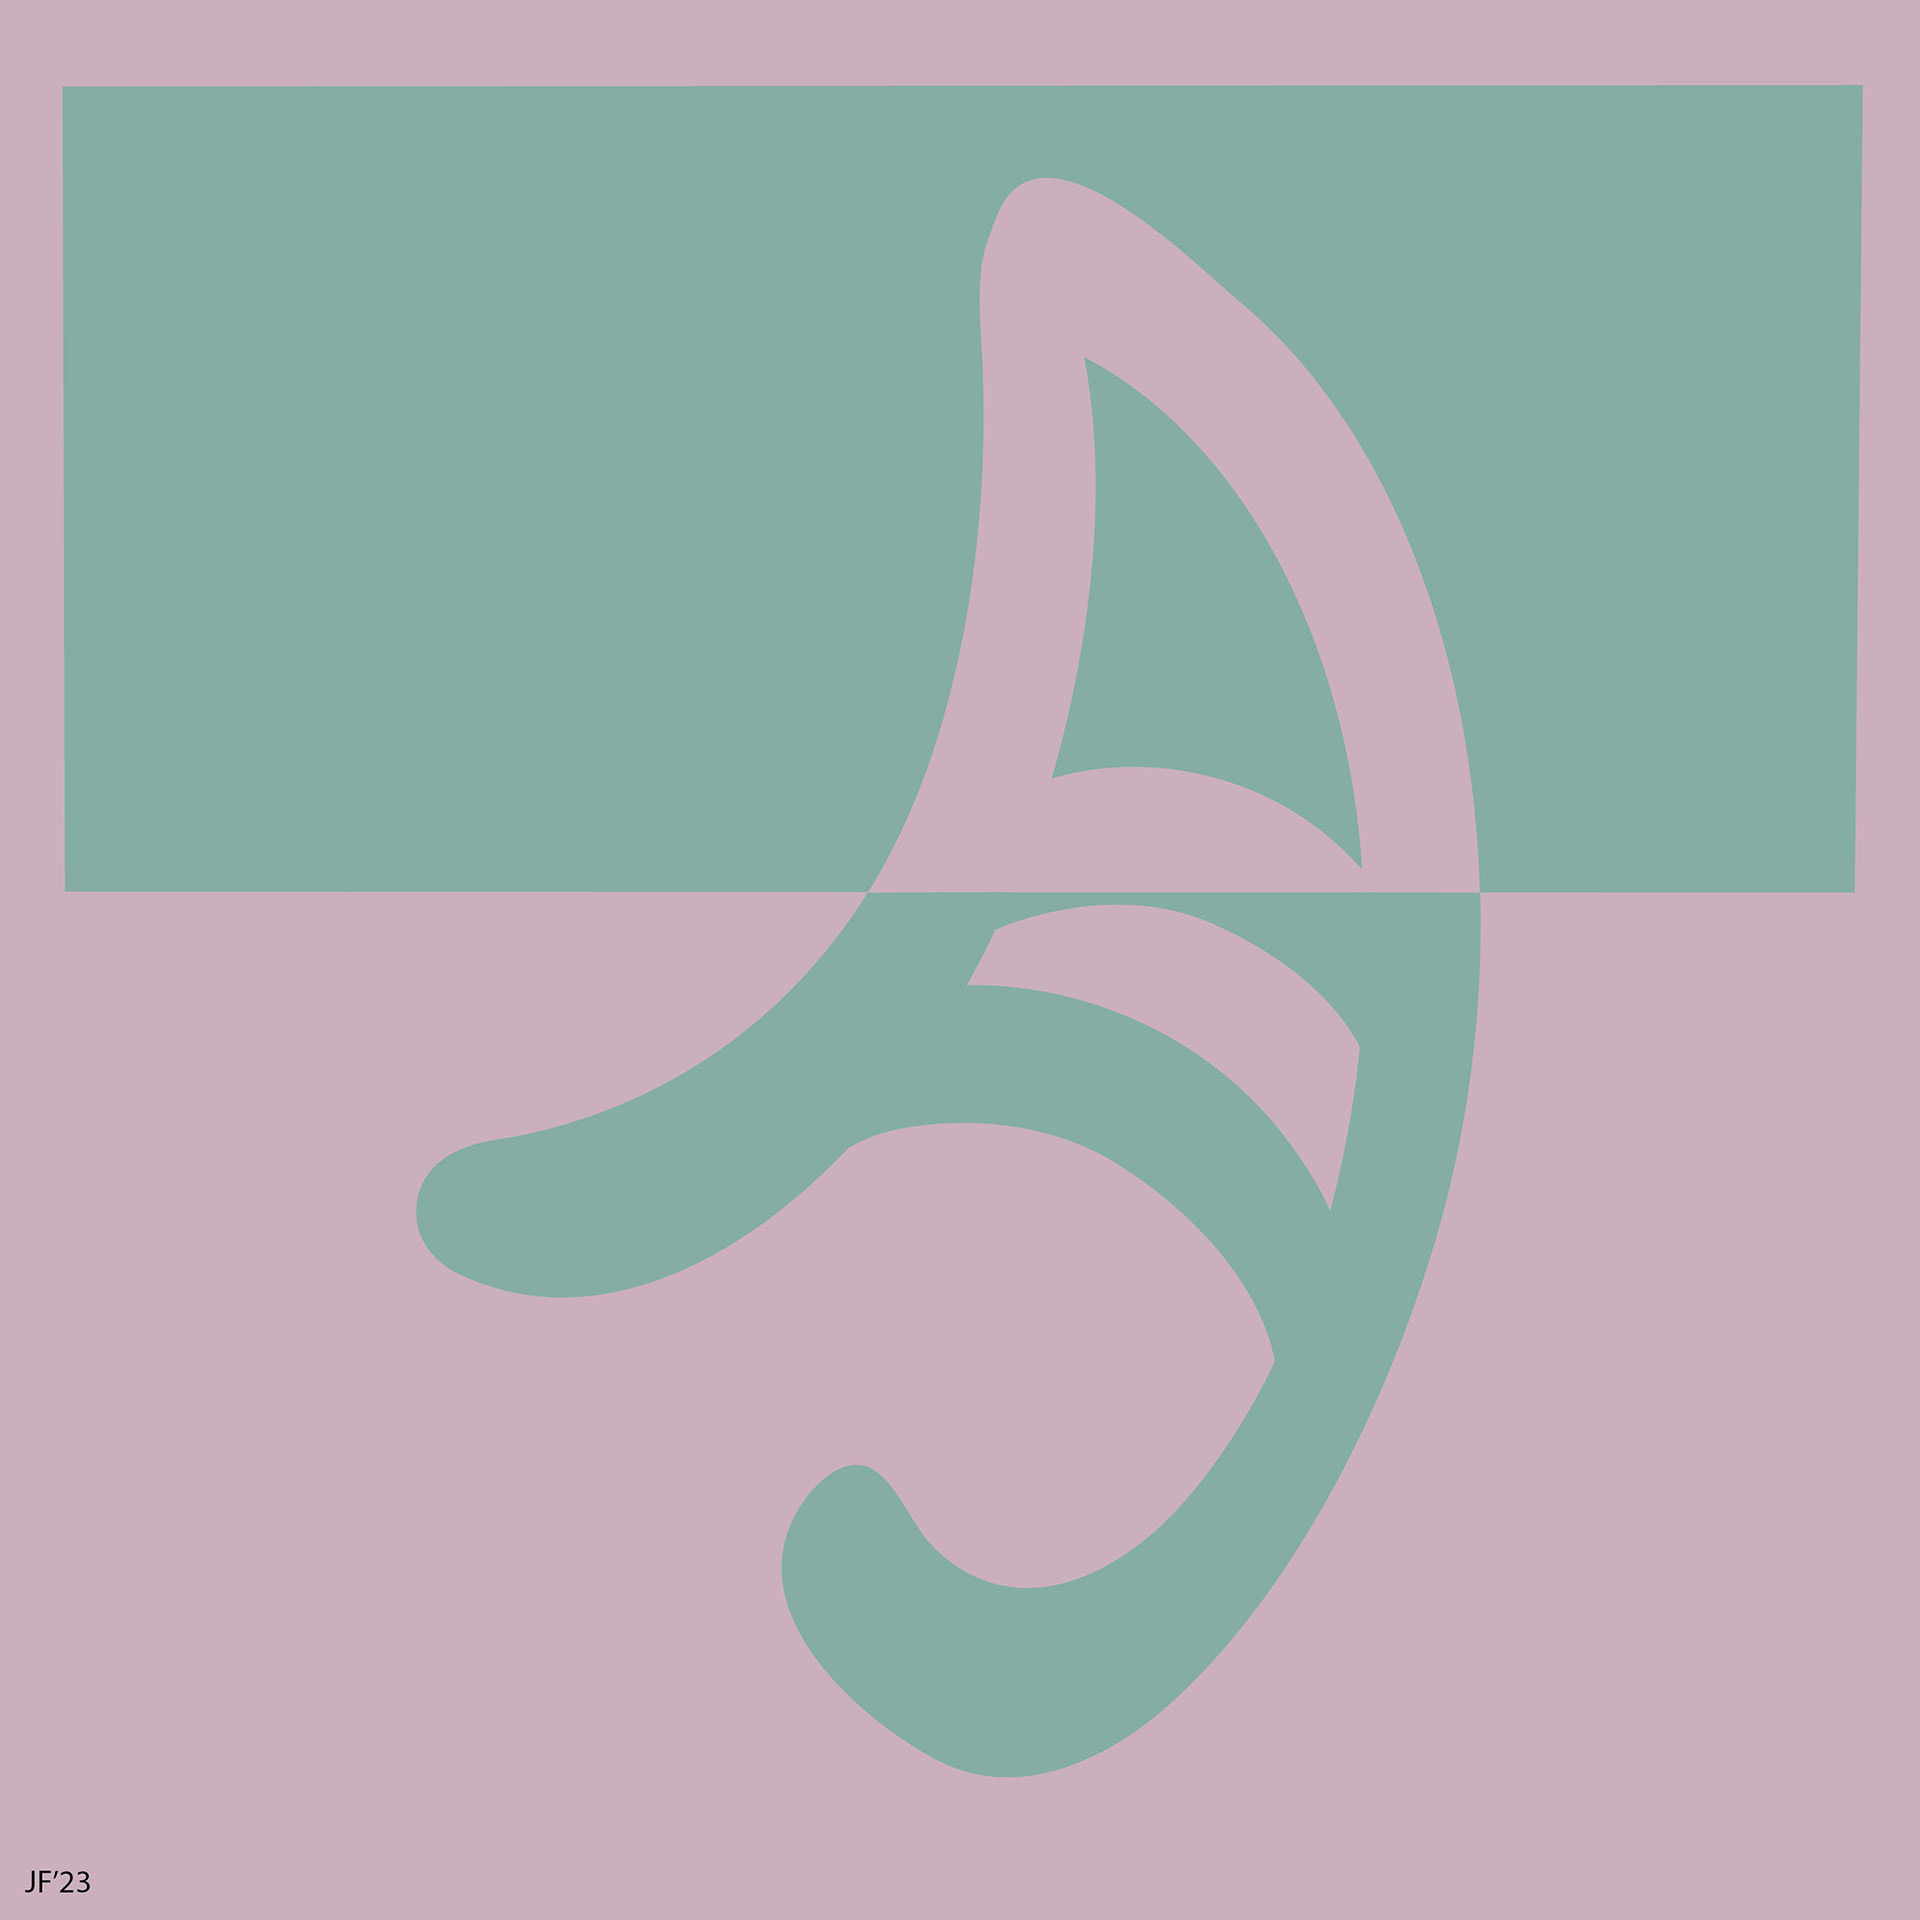
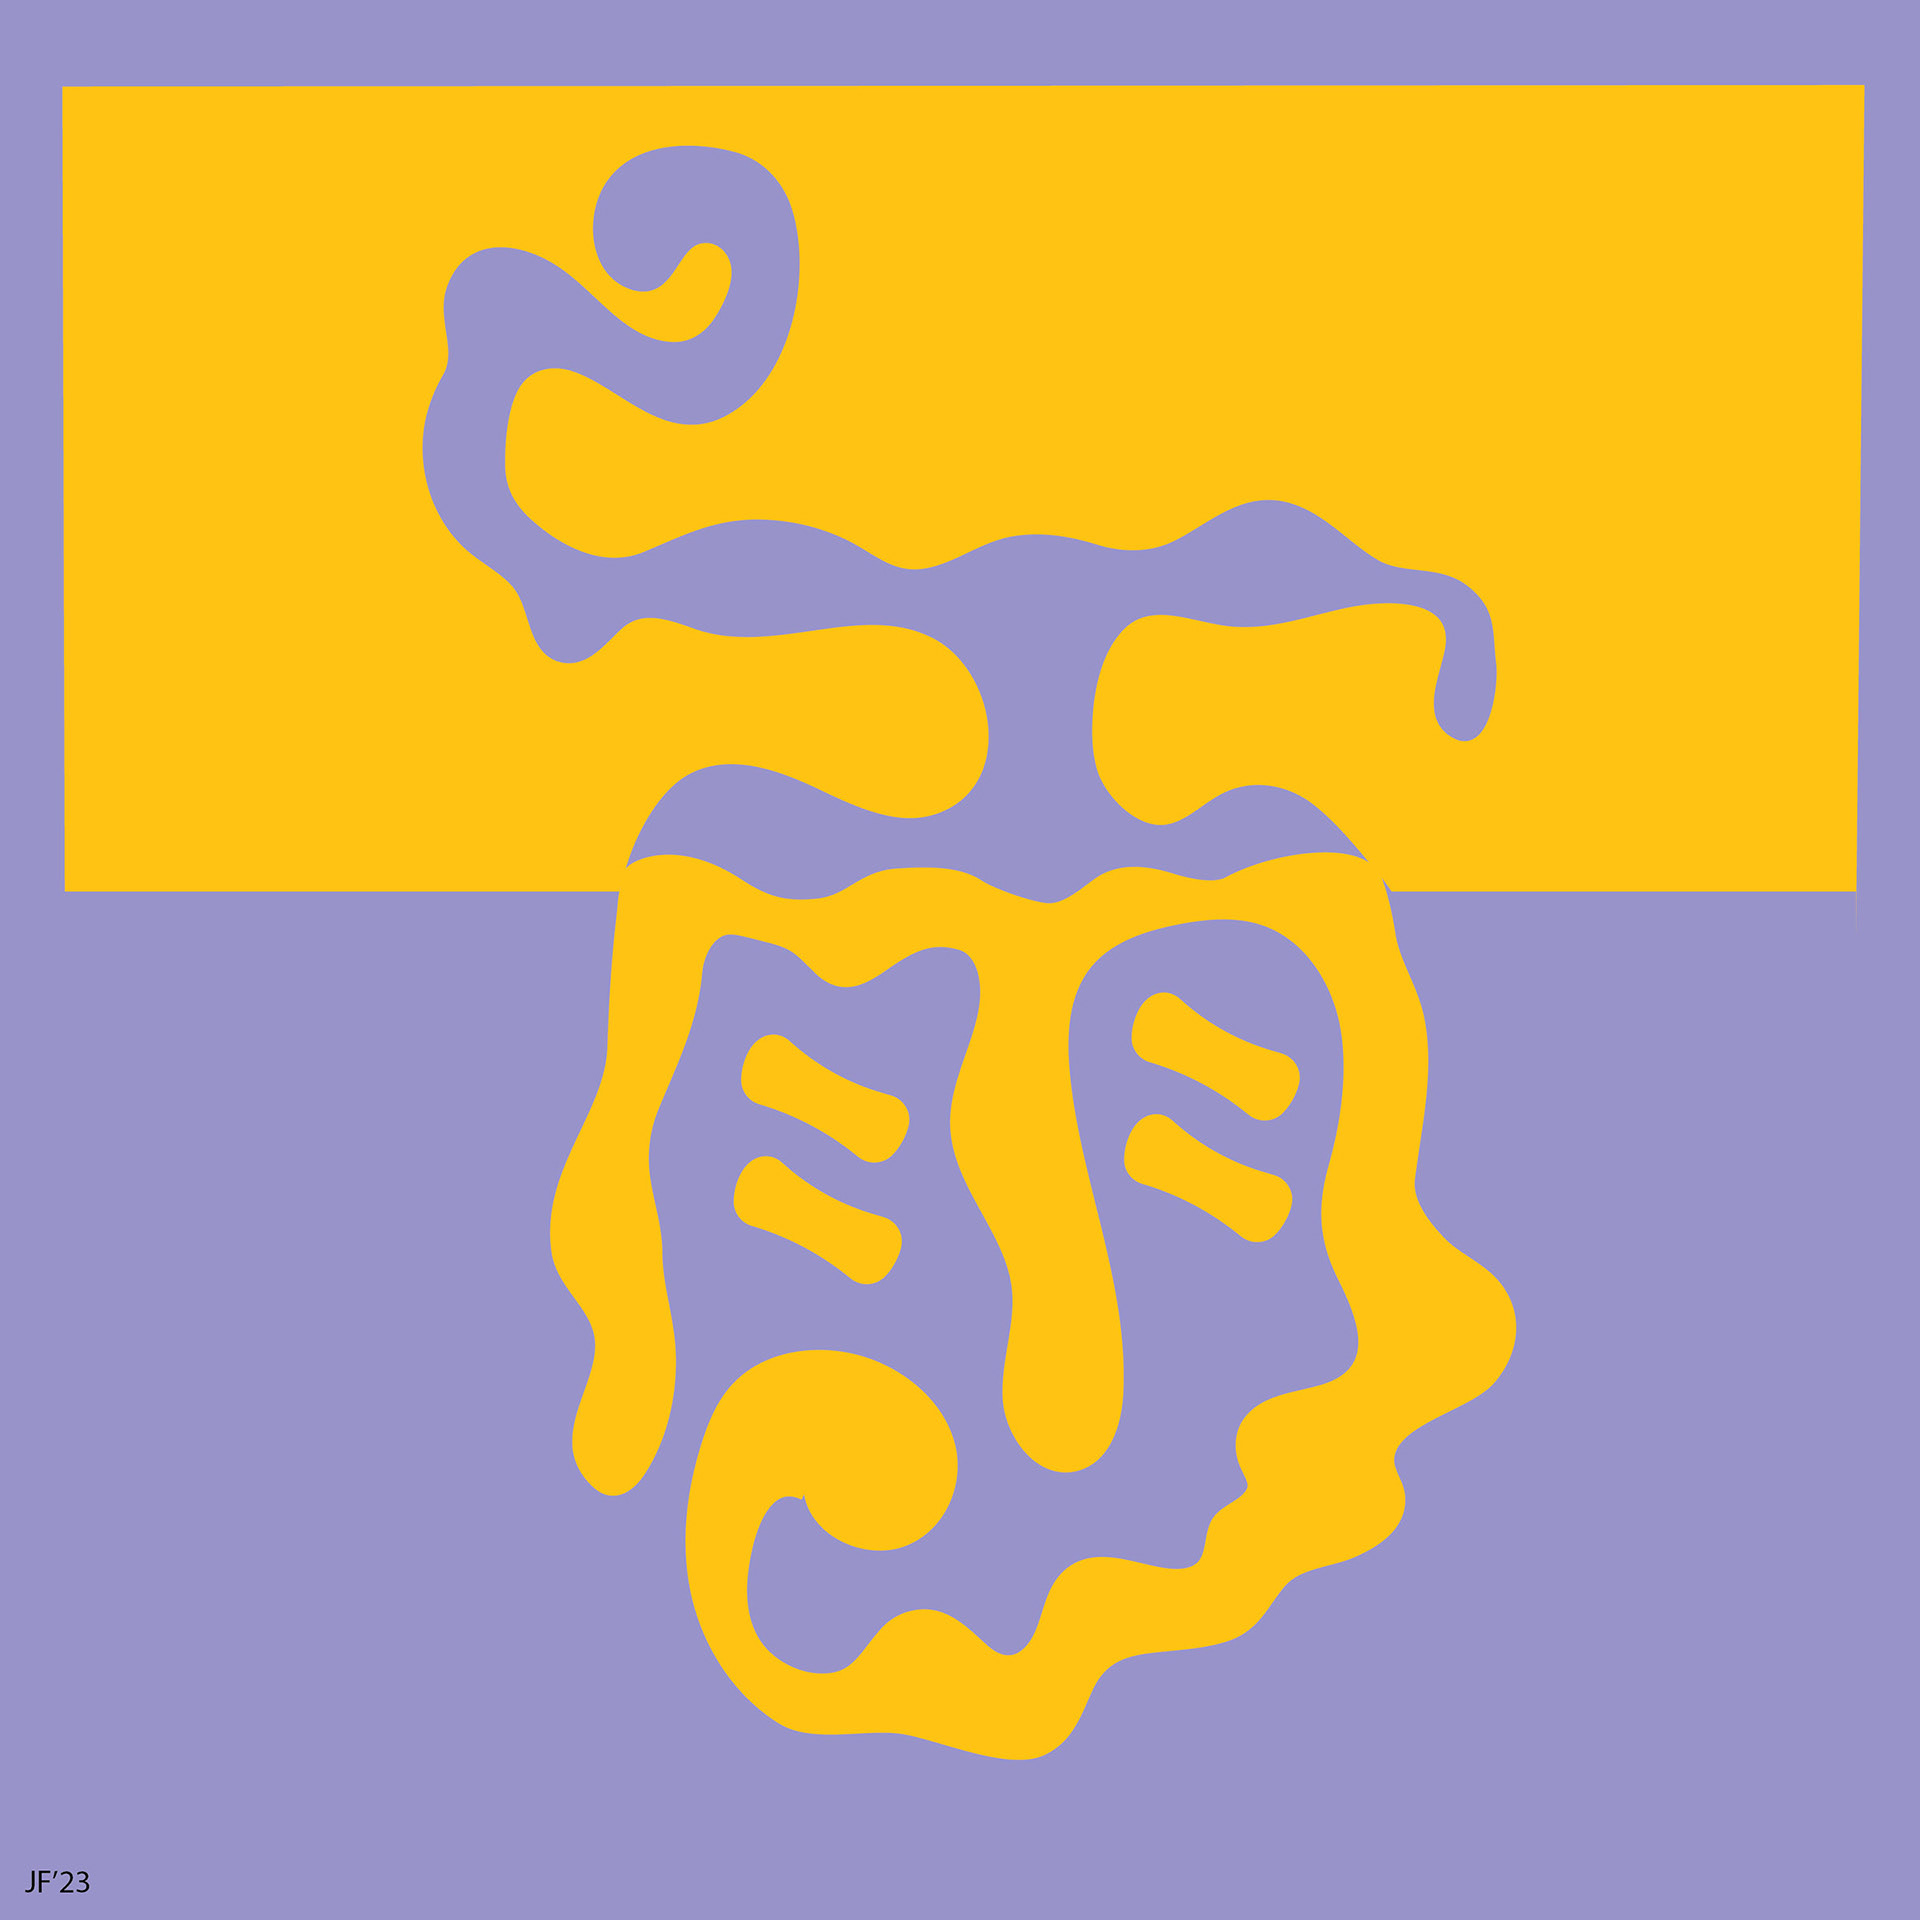
First, I used a Cricut machine to create stencils and stamp them on paper for a screen-print effect. However, I still wanted to see them
as actual riso prints.
as actual riso prints.
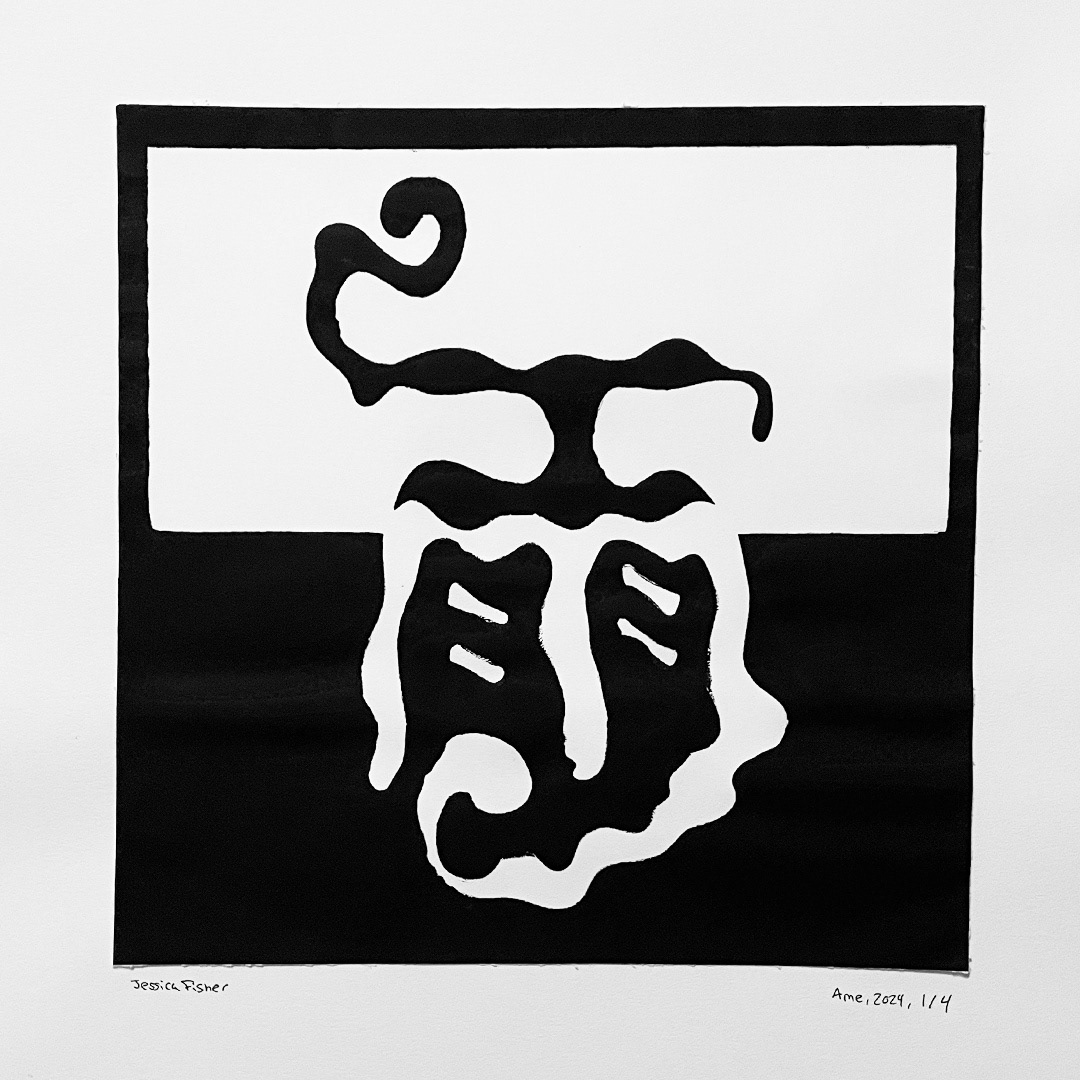
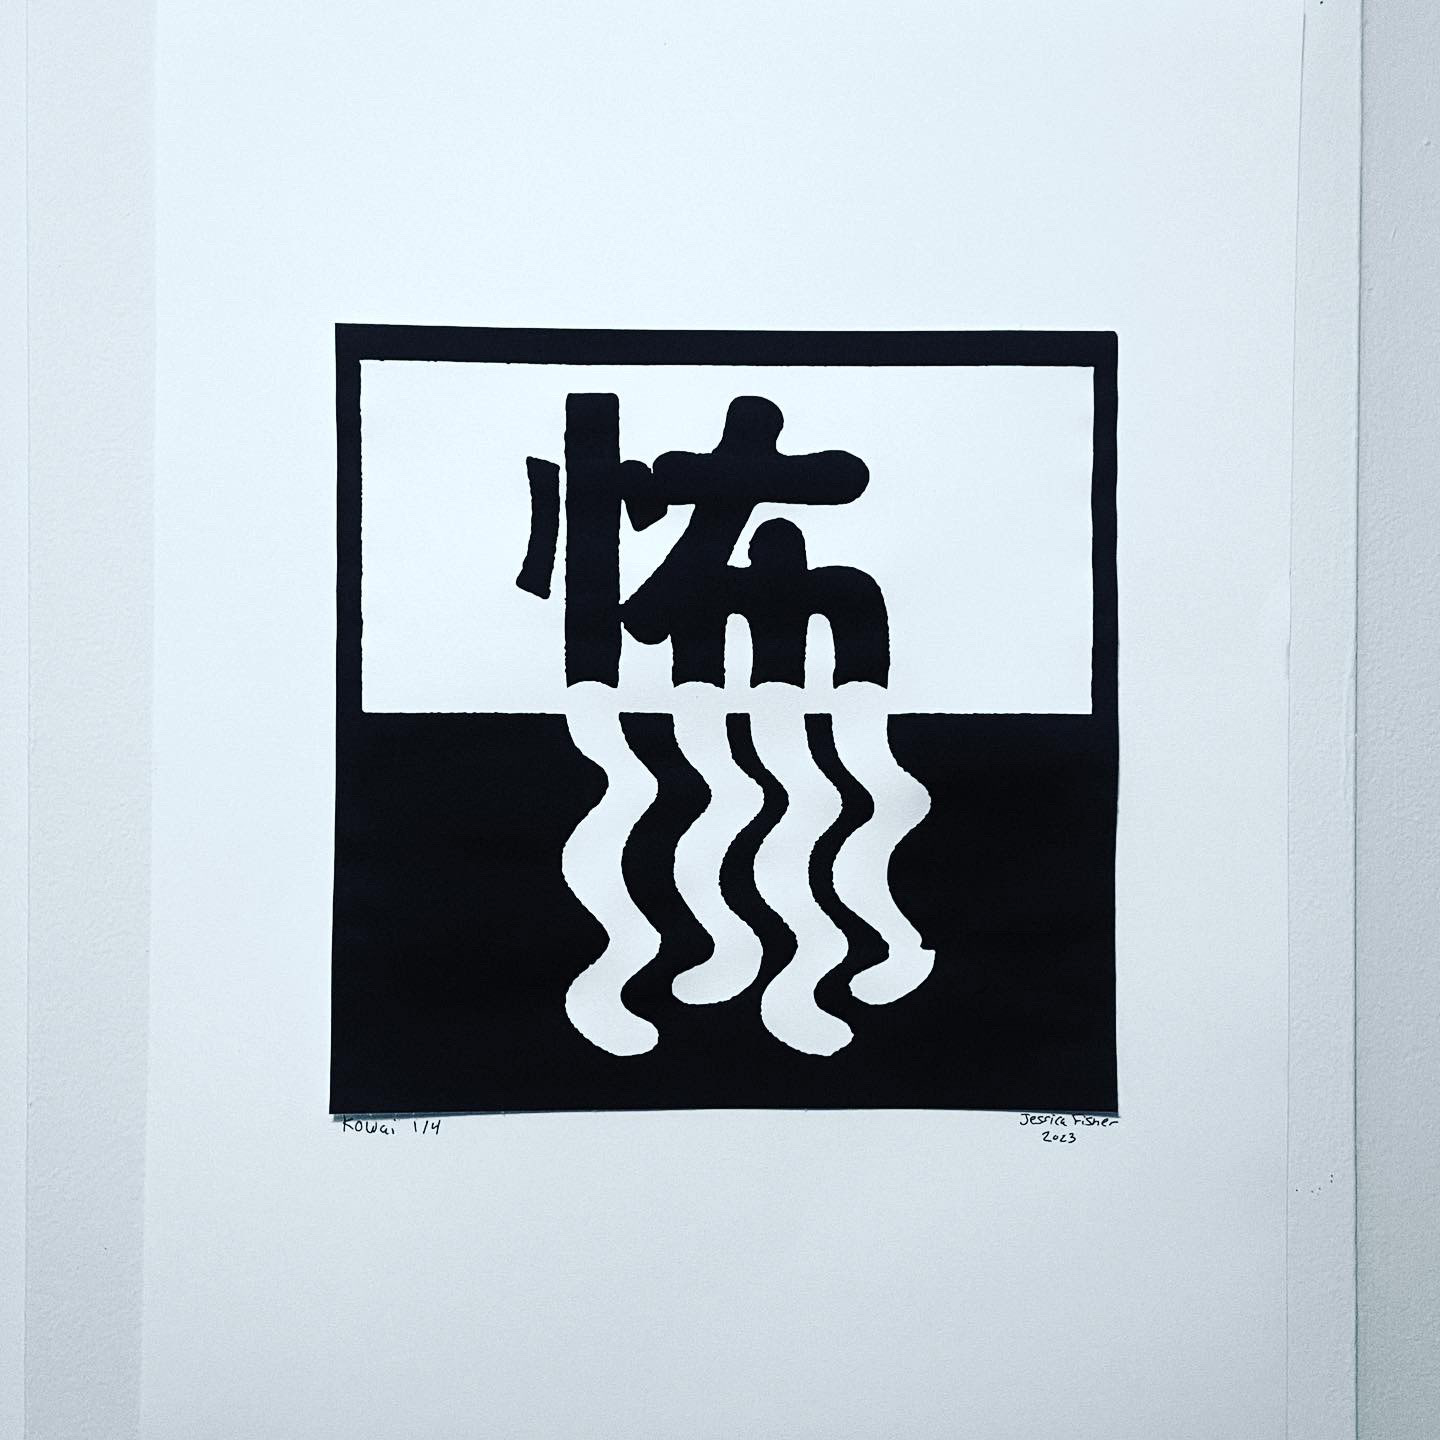
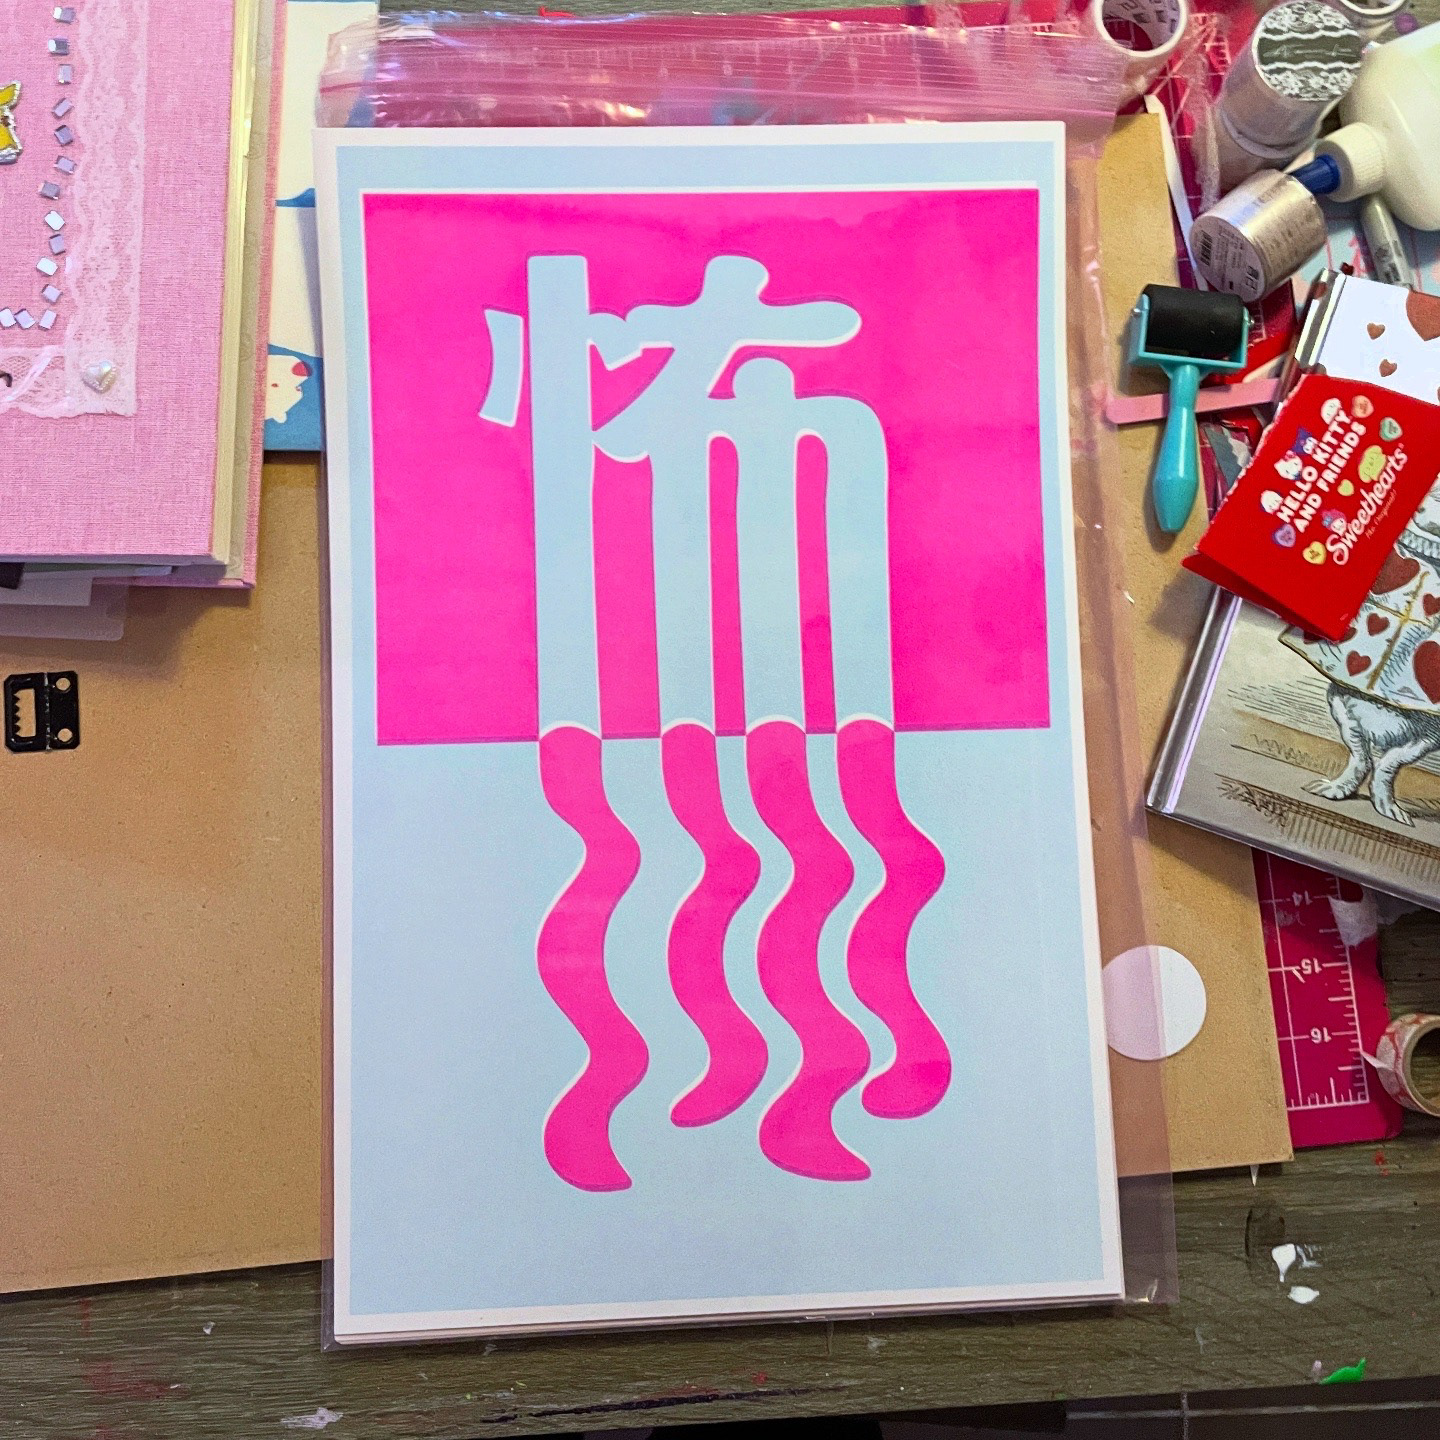
In the class, the riso printer's maximum size is 11x17", so I reformatted my design 'Kowai' to fit. We had about two hours of studio time, which I spent prepping my file and consulting with the instructors to ensure it would print correctly. I walked away with 10 prints.
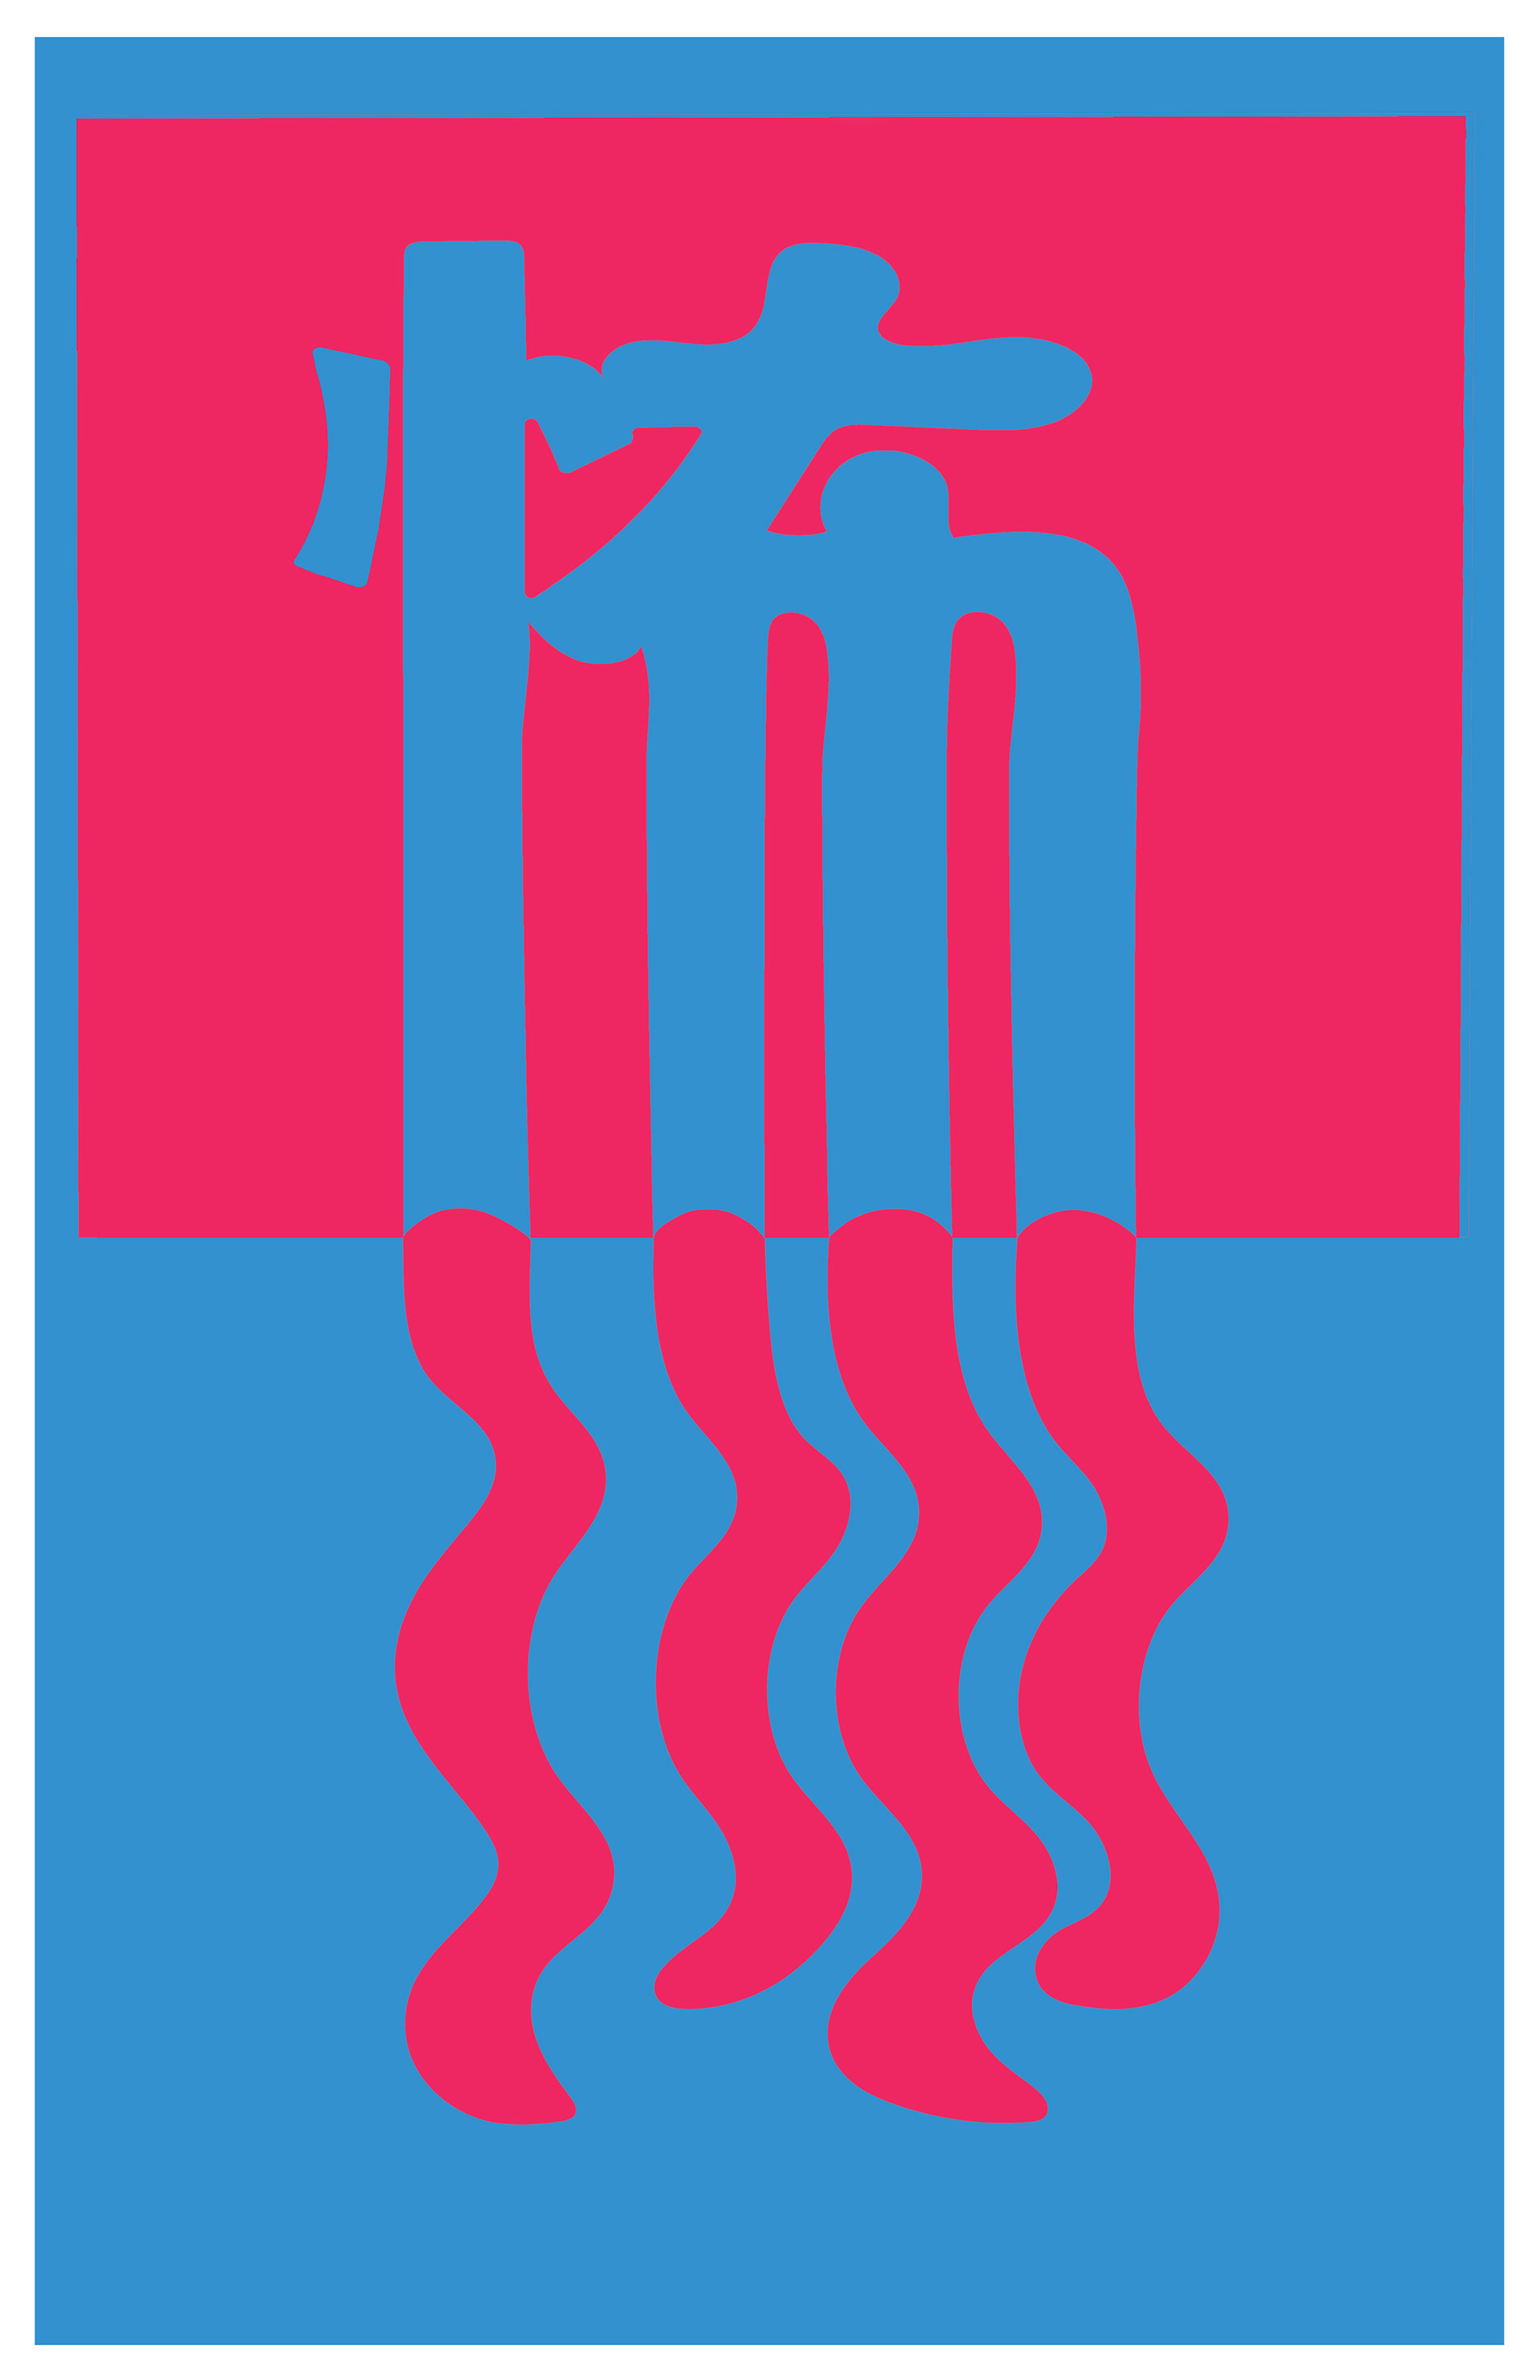
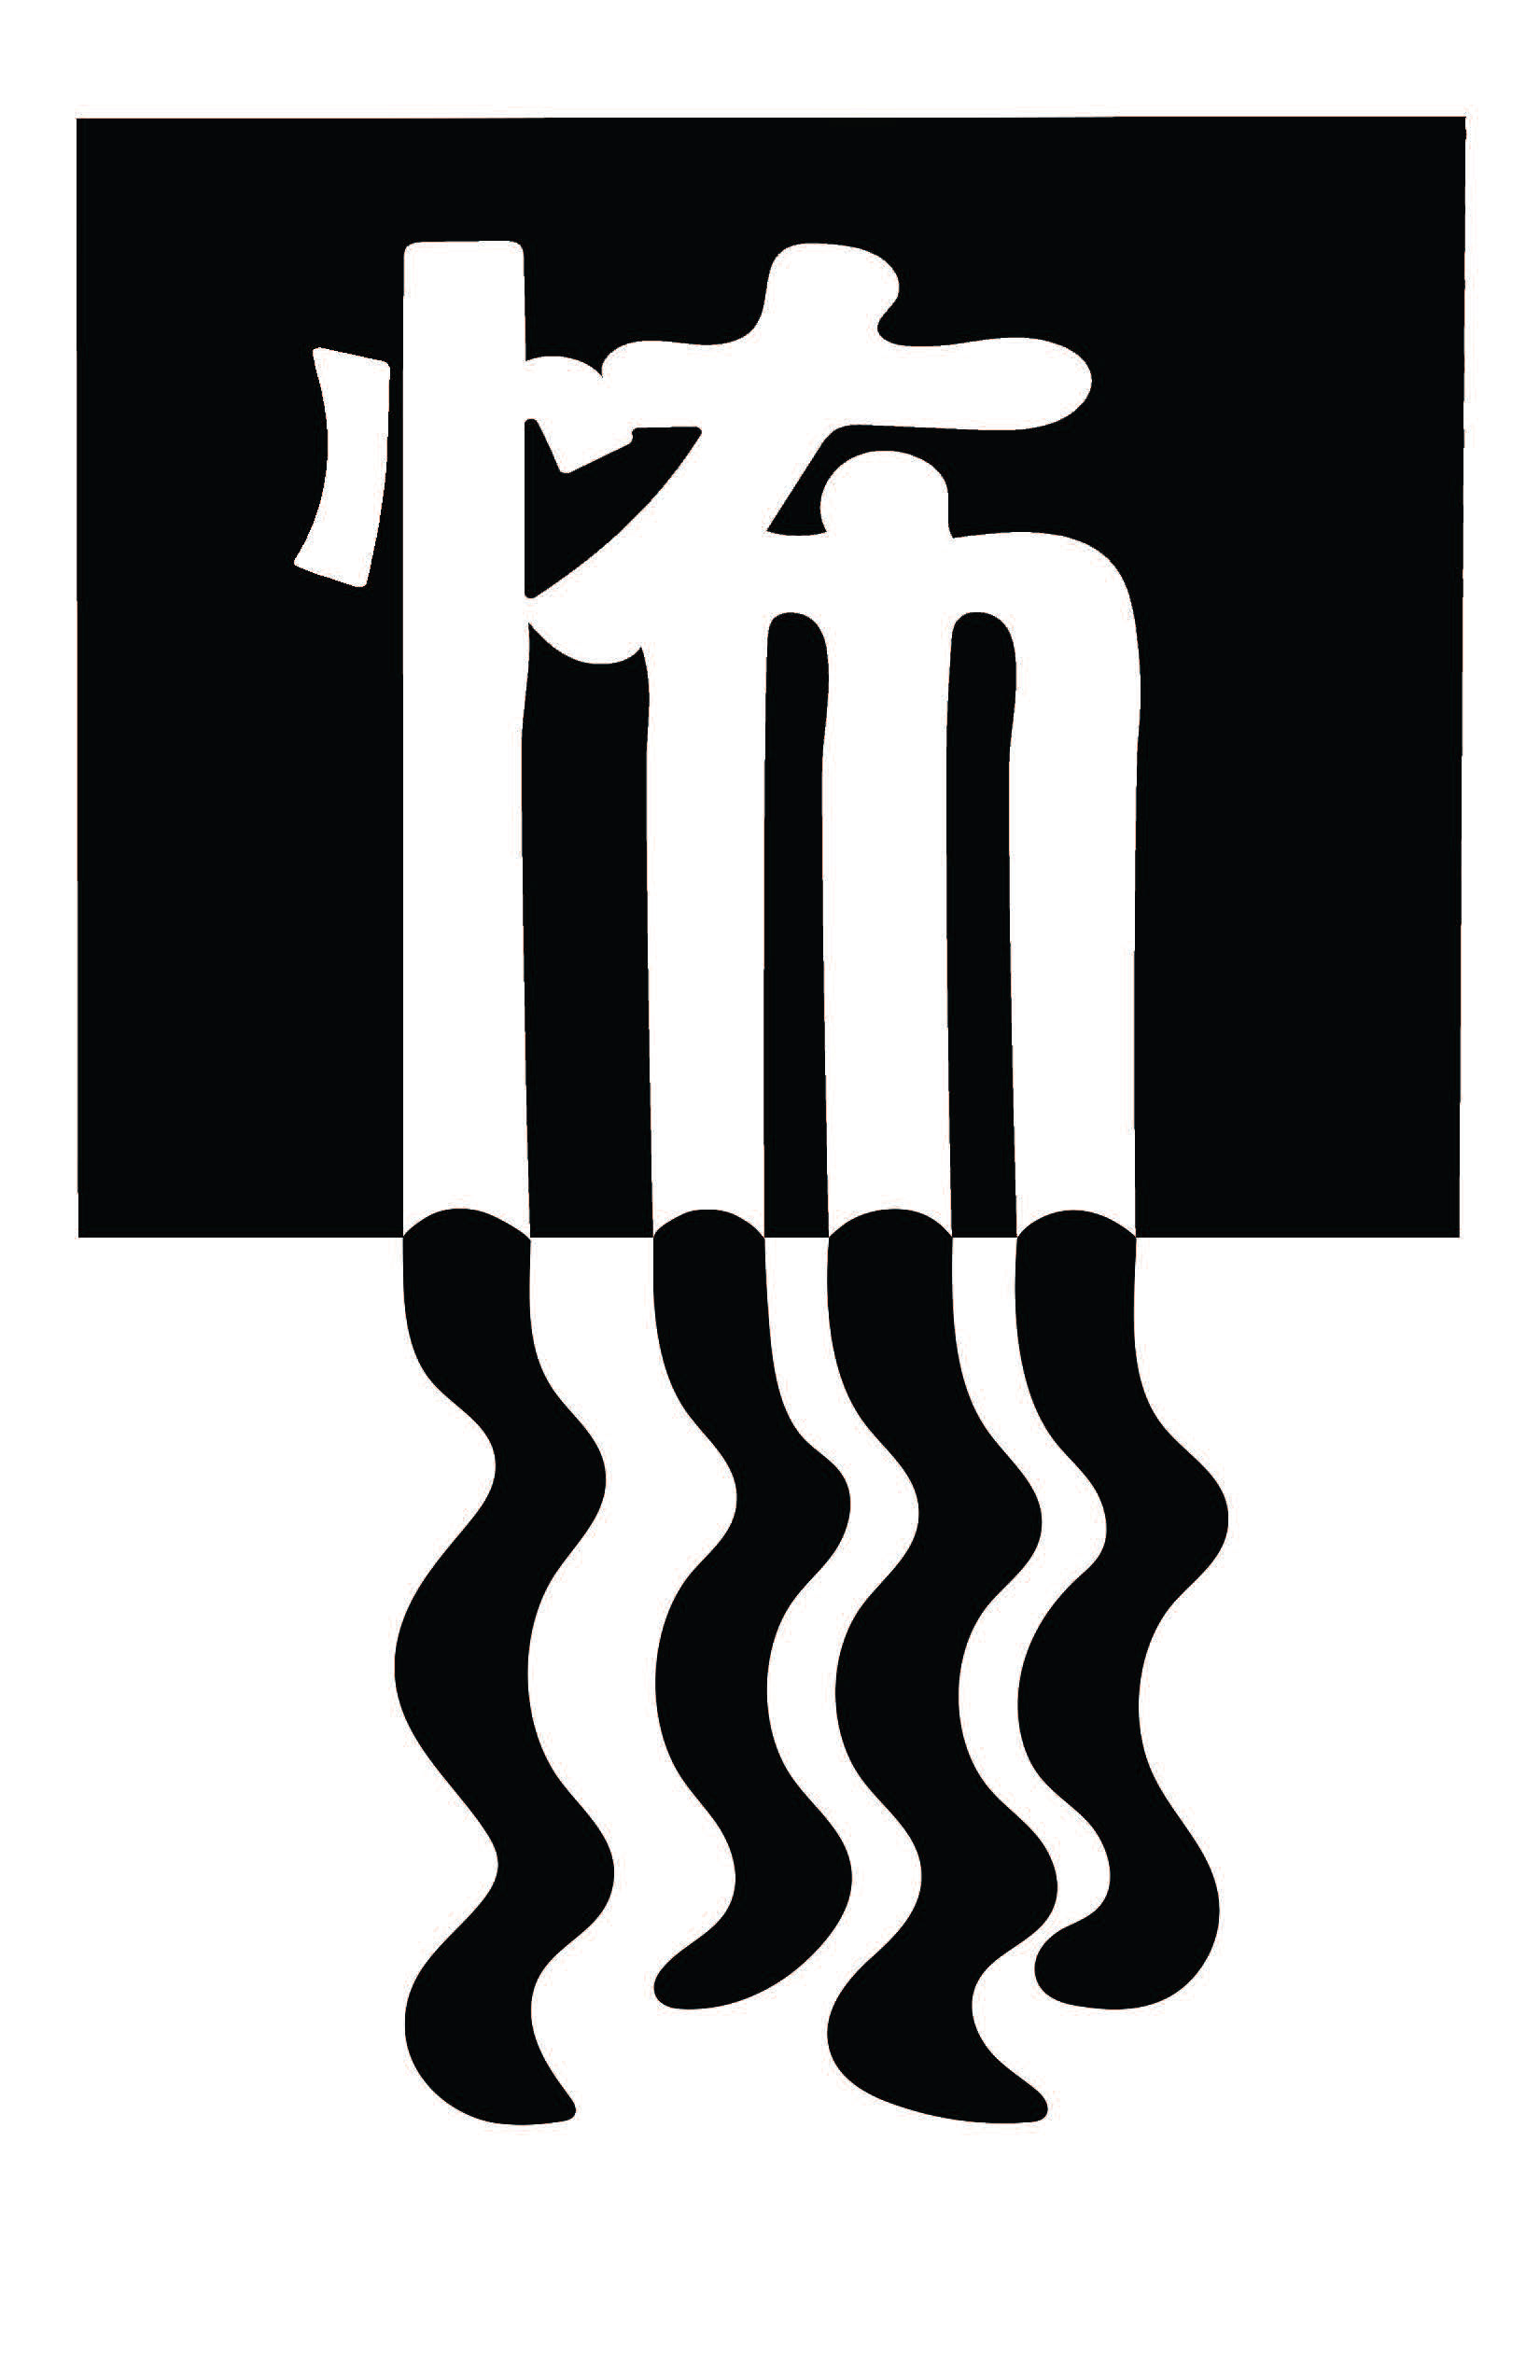
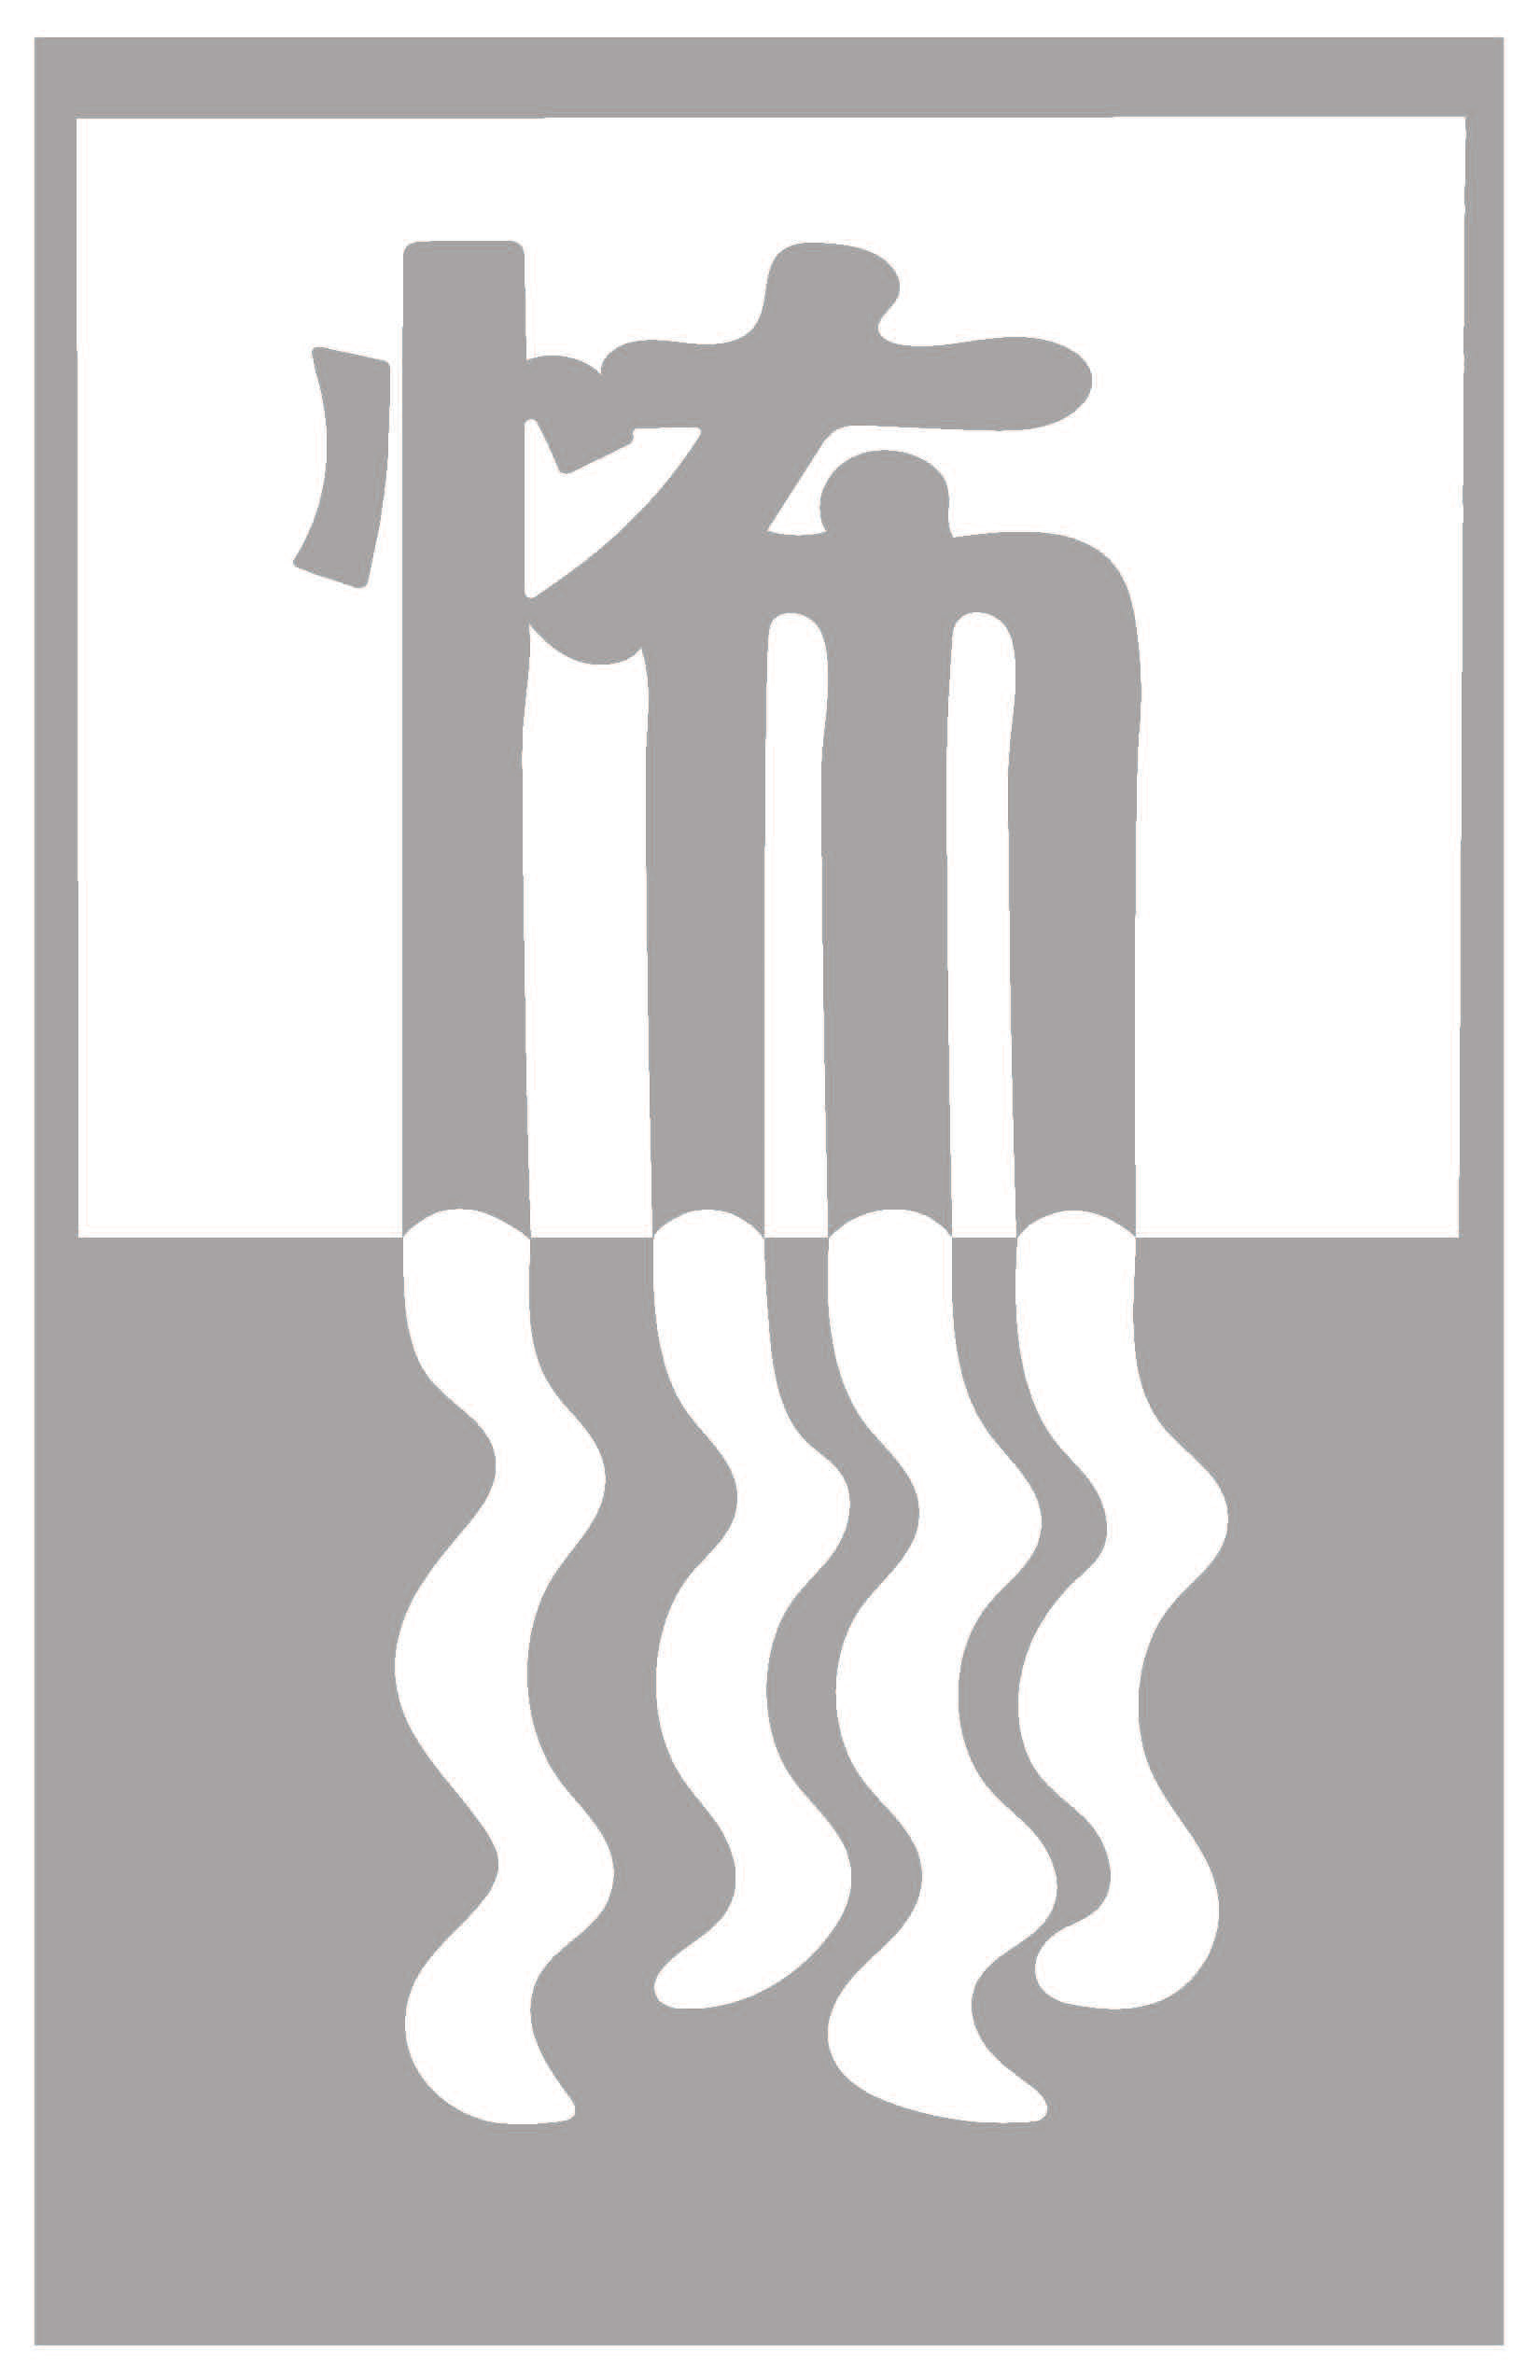
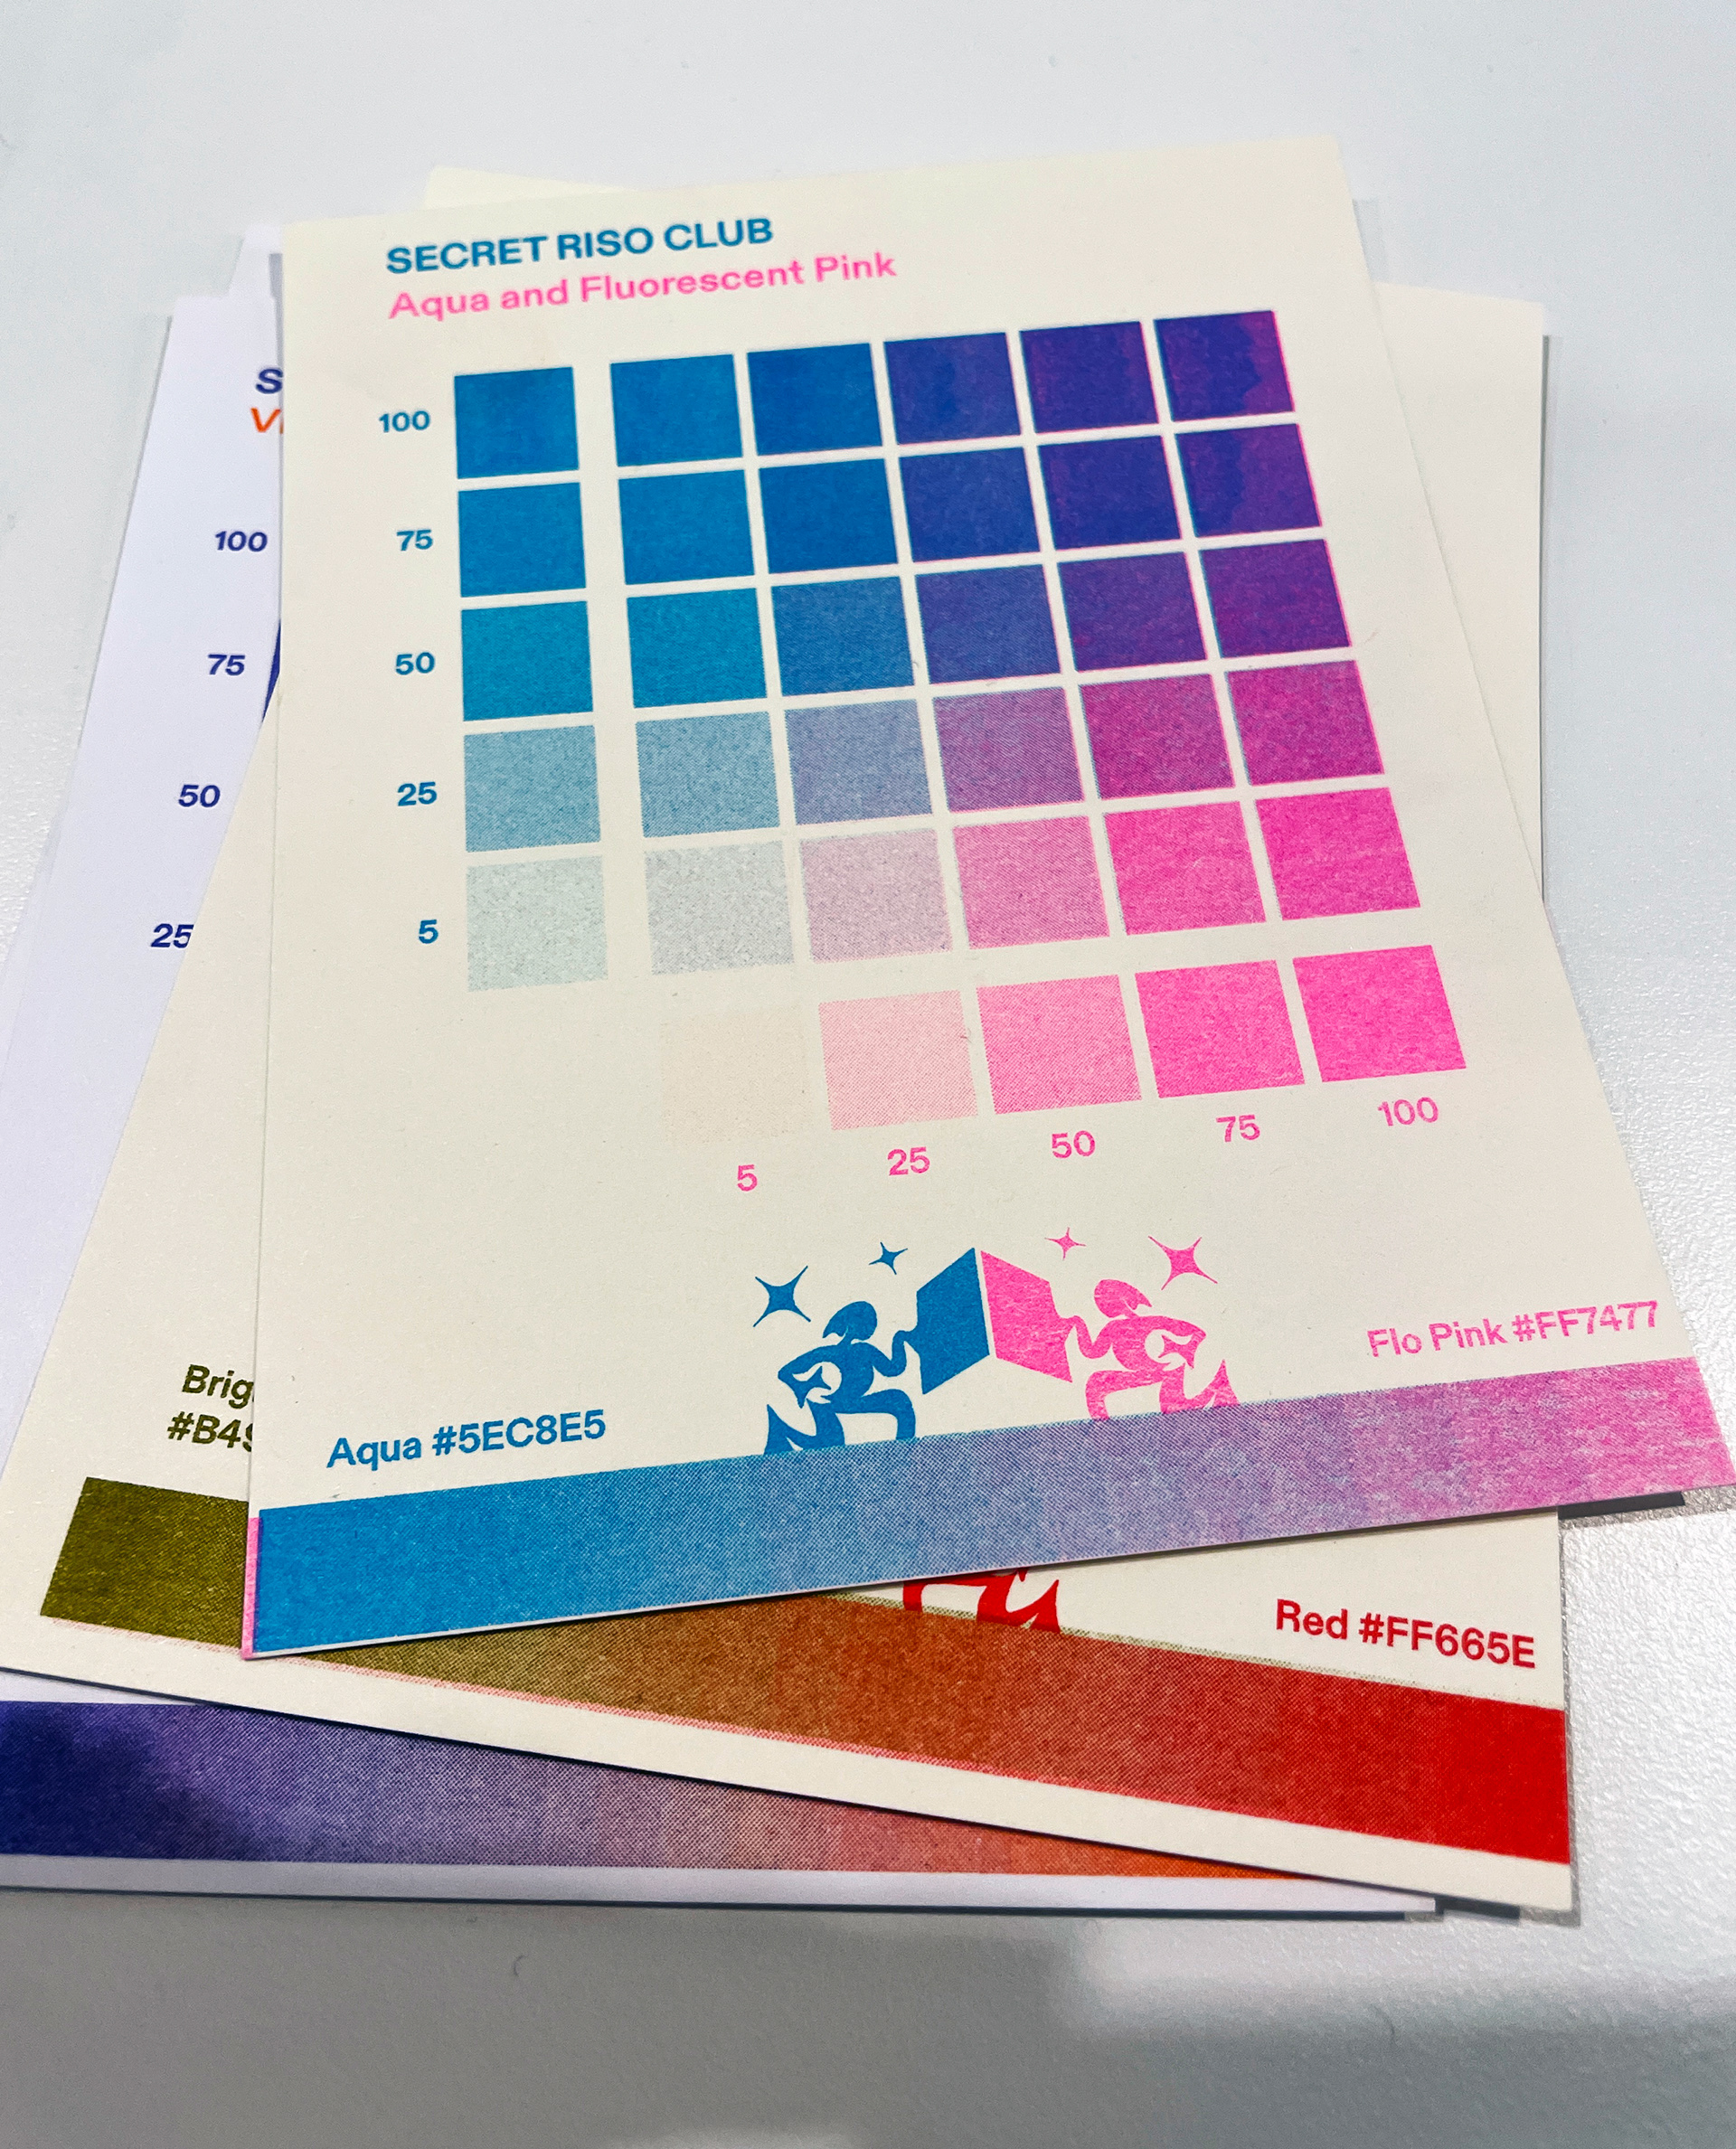
I knew from the start I wanted to use pink and aqua. Prepping for riso meant working in grayscale, which was new to me. I converted my design and played with the gray percentages to control the saturation of each color, aiming to let the riso's texture shine through. When I was satisfied, I saved the aqua and pink as separate files and handed them off to the instructor.
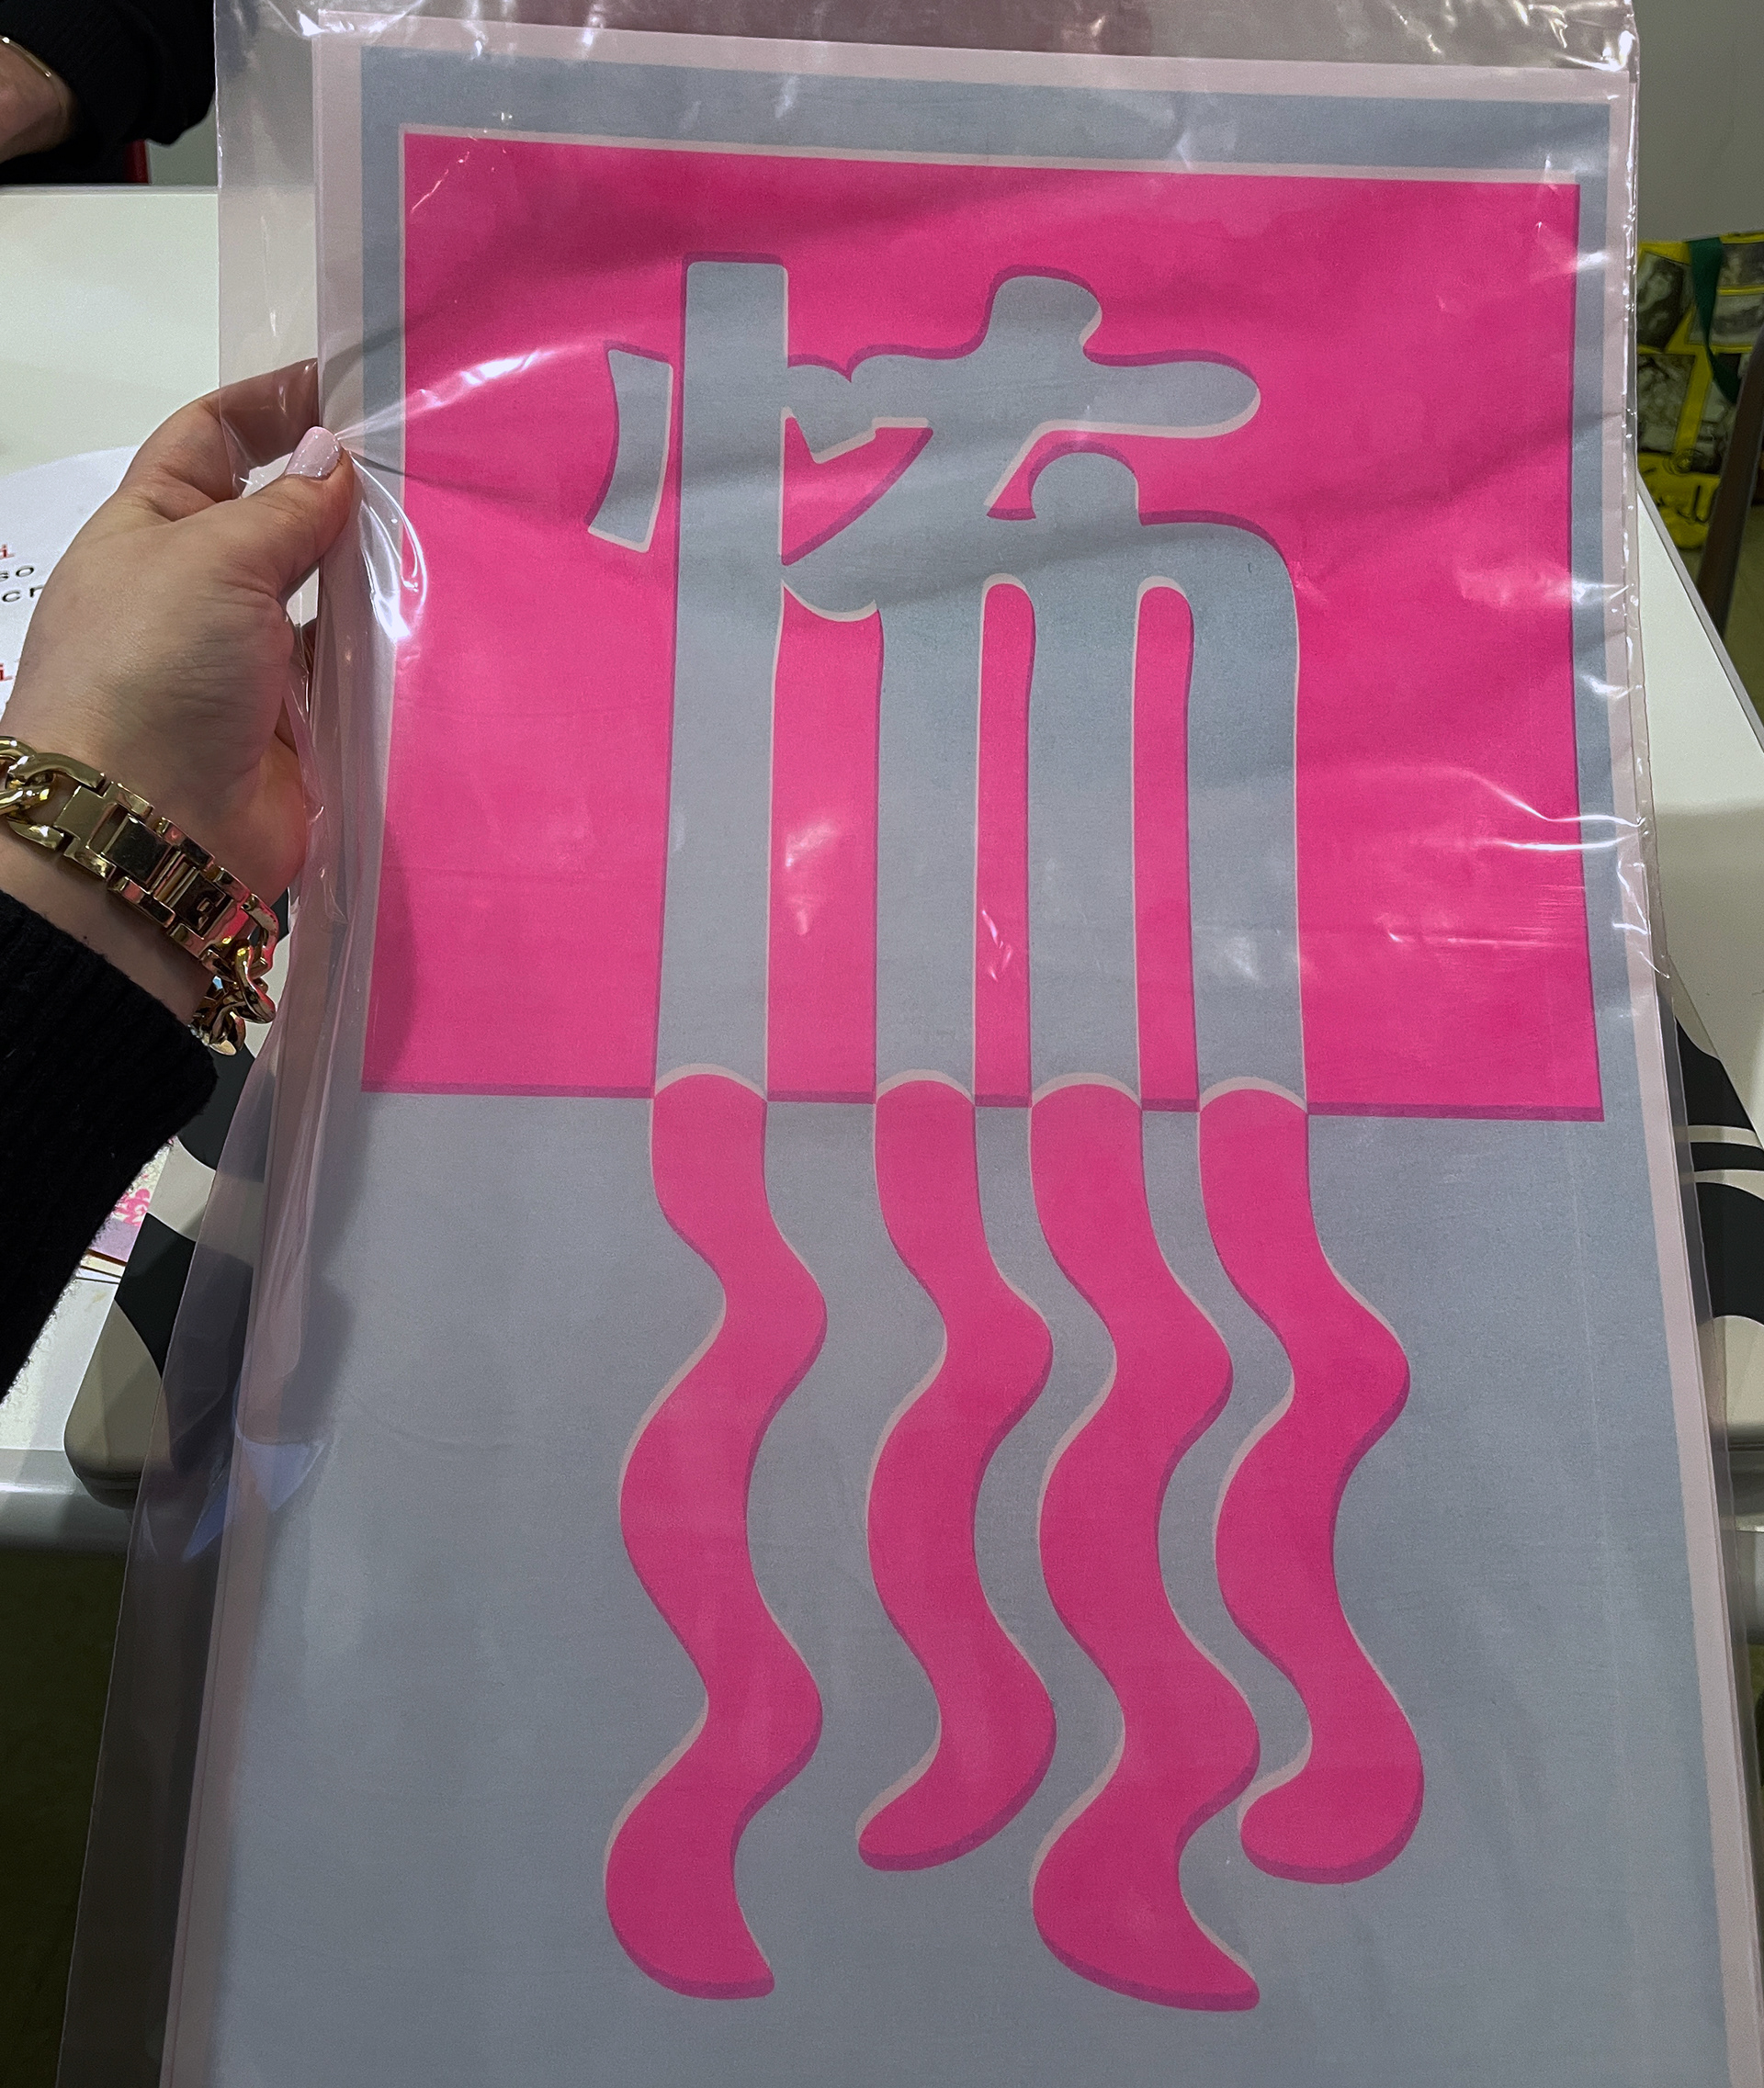
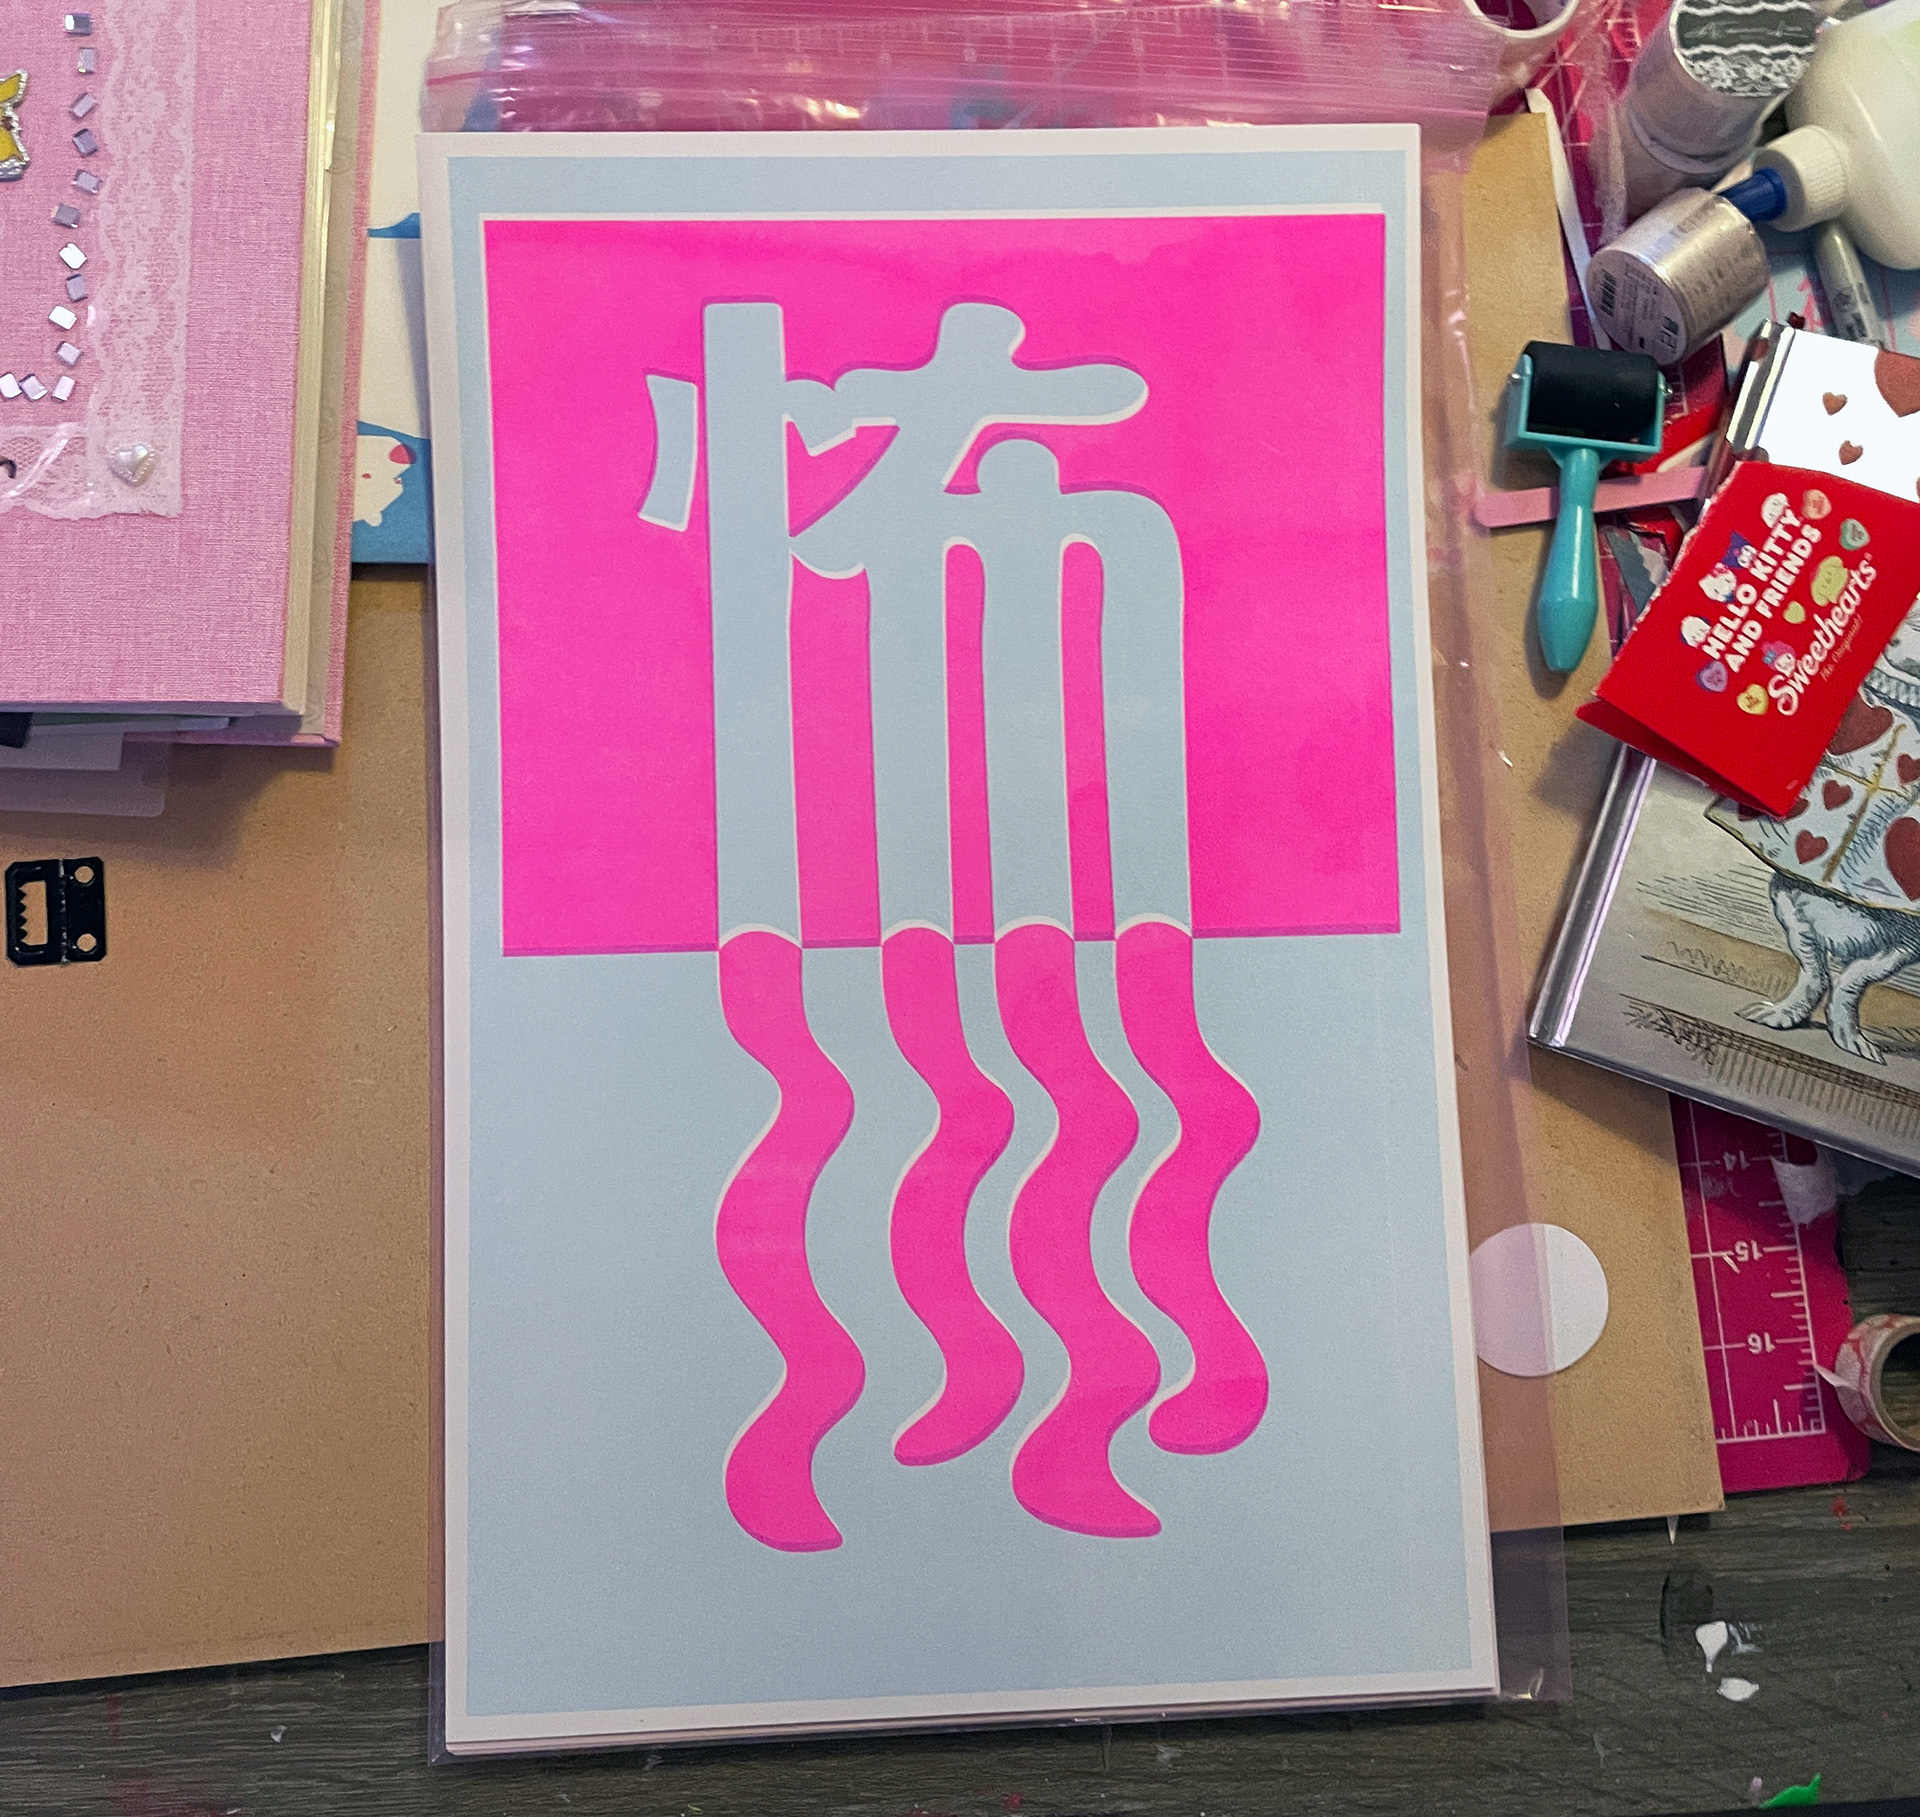
Fresh off the press, it came out beautifully. I used aqua at 25% opacity and pink at 100%, and I love how the colors layered. The riso texture came through clearly, which was exactly what I designed it for.
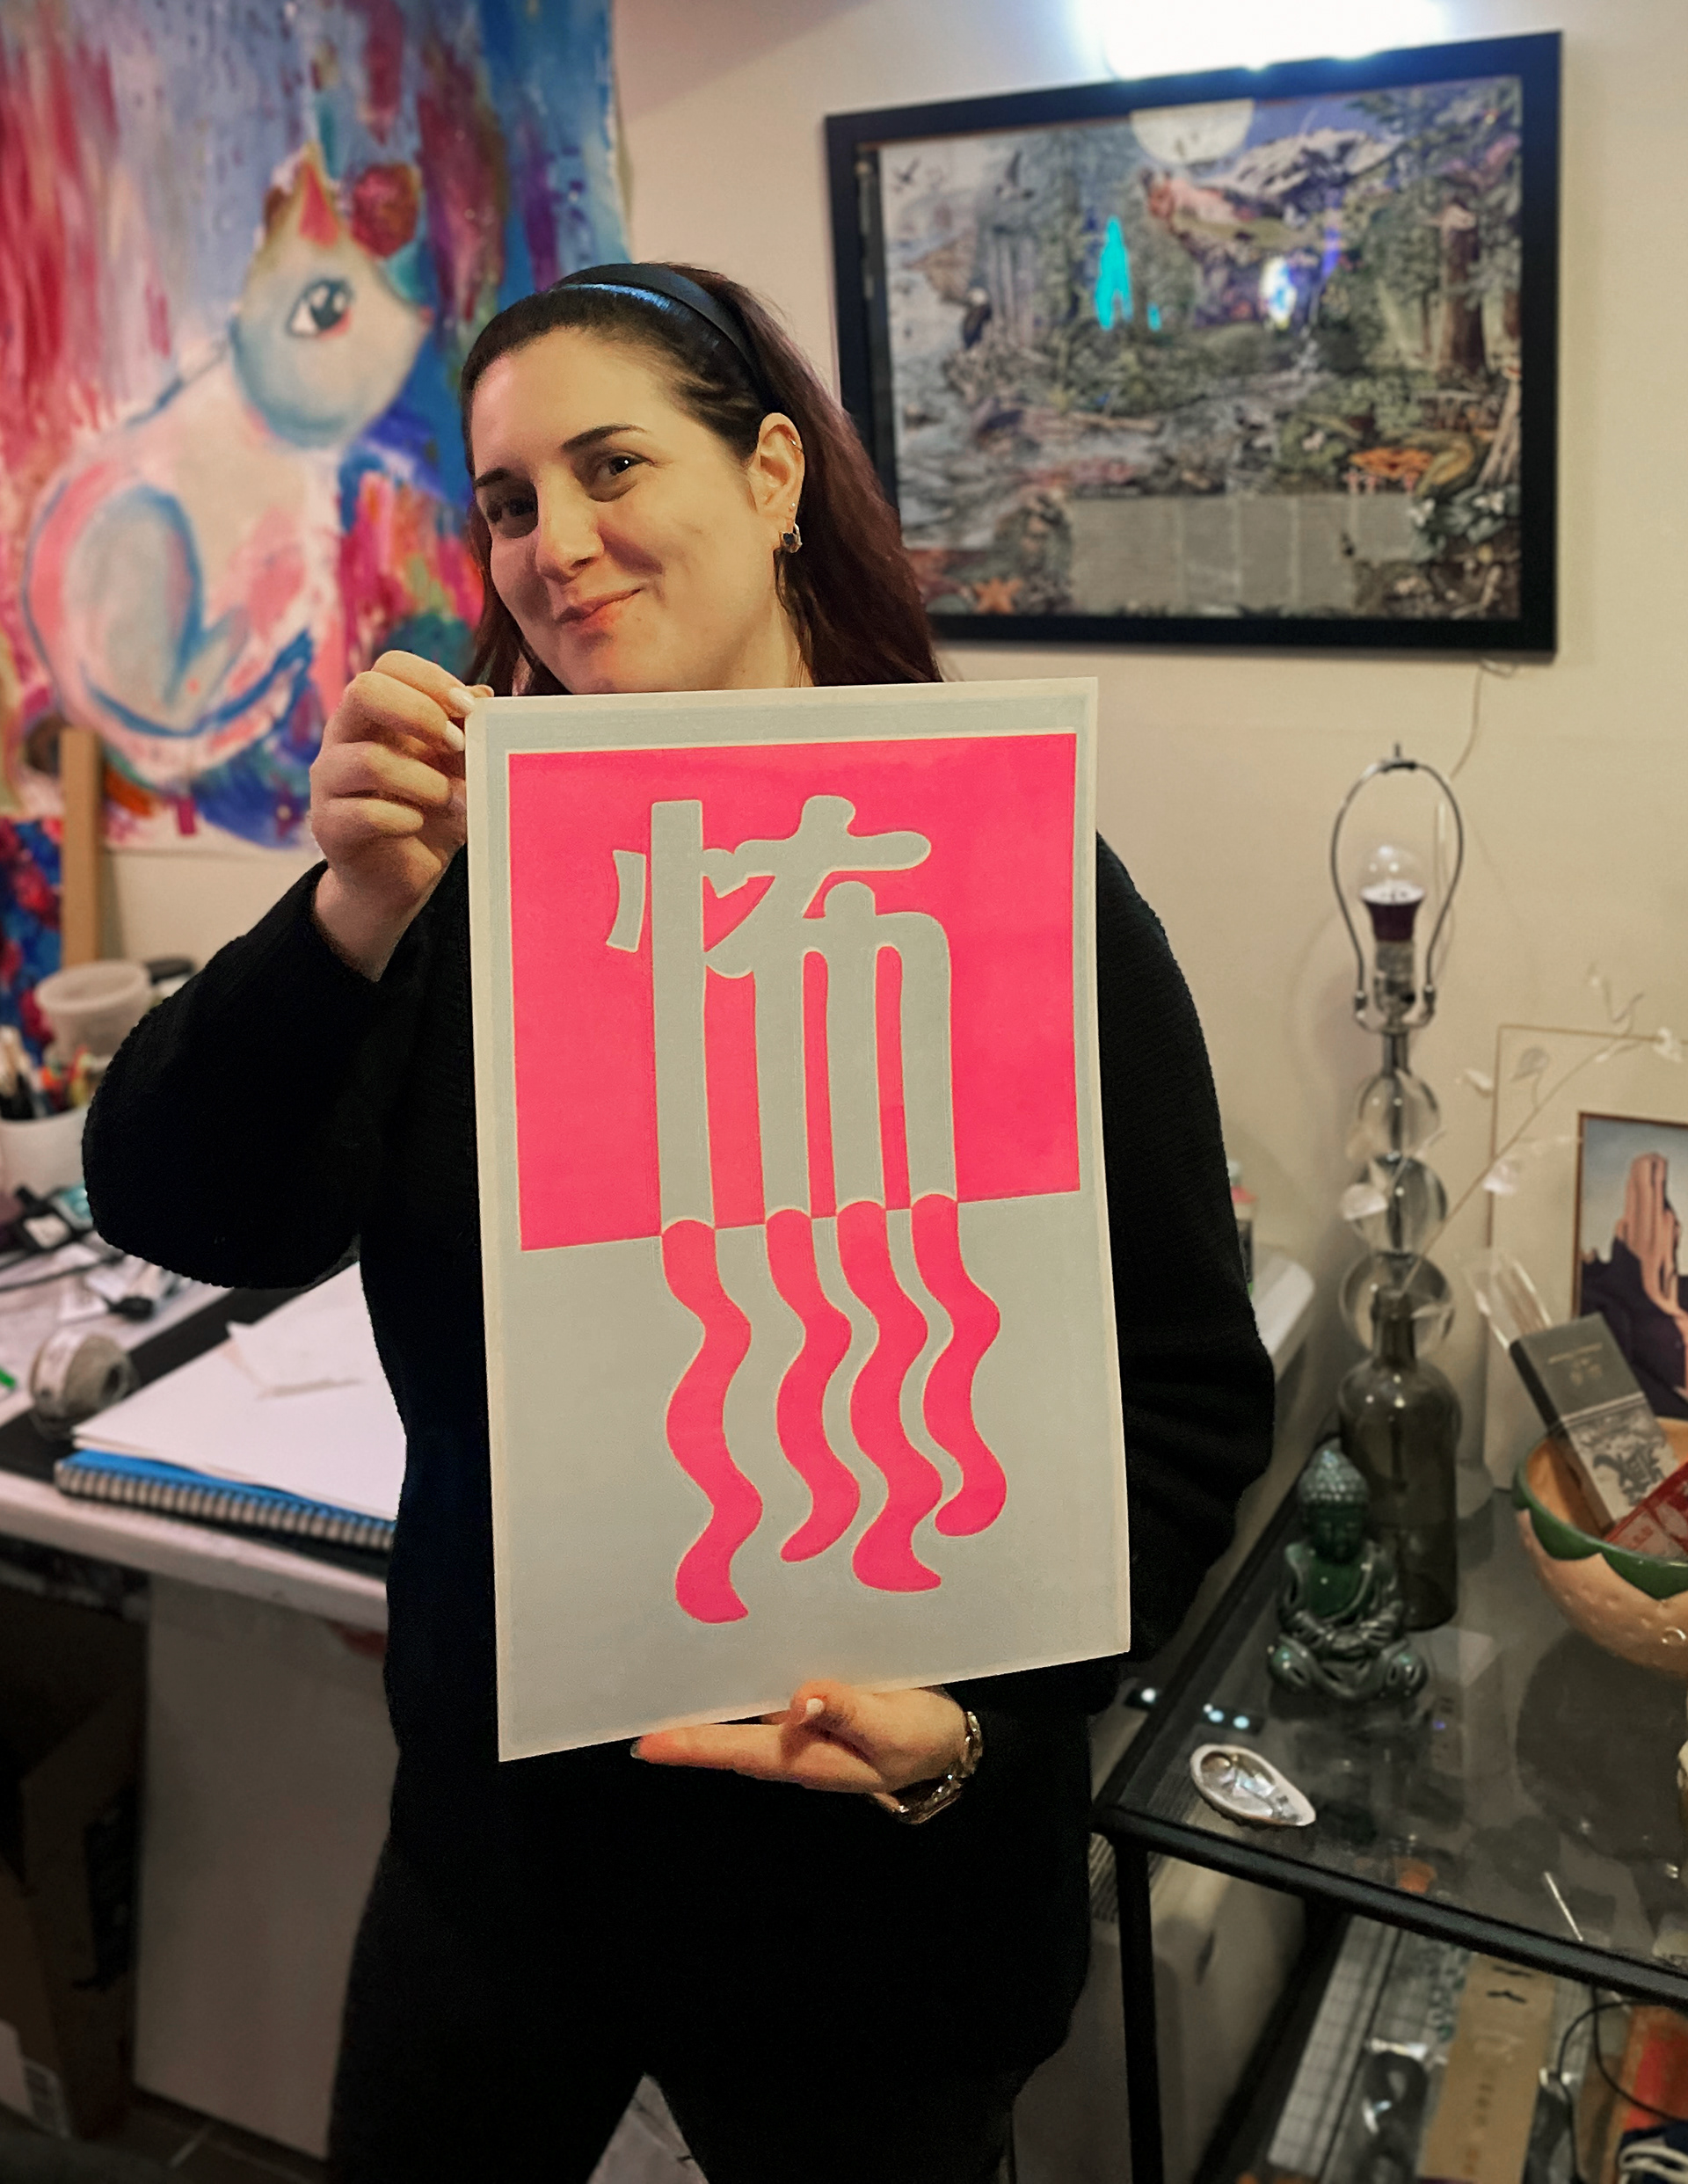
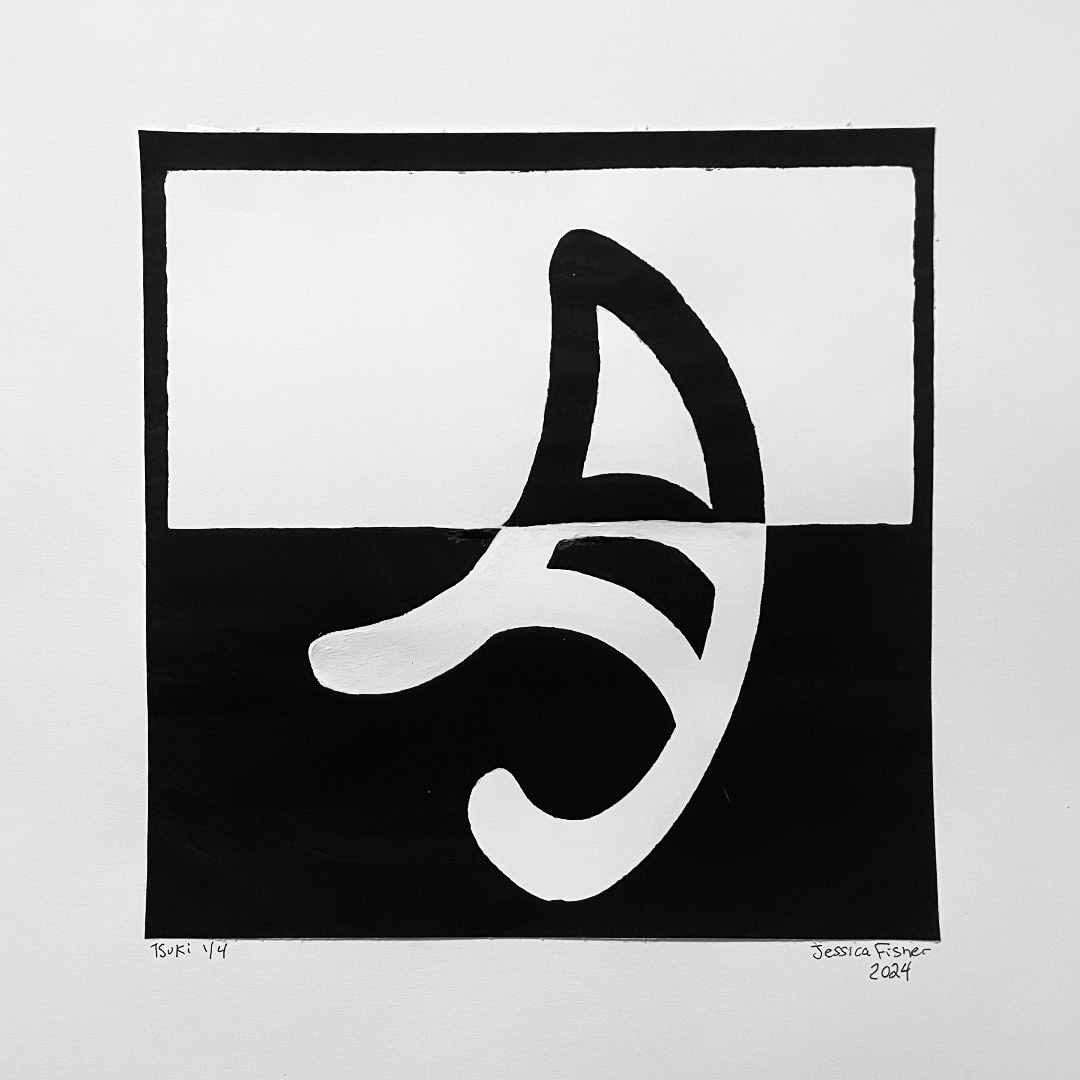
My goal is to redesign my other two designs for Tsuki, and Ame, and turn them into riso prints again! I really enjoyed my time at Secret Riso Club, and will definitely be back.
For more info behind the inspiration of my kanji series, you can read about it here.